PyGObject 3.14.0 has just been released. This is the first major release
of the 3.14 series and includes refactoring, bug-fixes, performance
improvements, and a few API additions. Thanks to all the contributors
and a special shout-out to Garrett Regier for some excellent refactoring
and marshaling unification work for Python implemented virtual methods.
This work enables out and inout array arguments for Python implemented
virtual methods.
PyGObject is run-time binding system for exposing the GNOME platform to
Python. This includes libraries like GTK+, GStreamer, Gio, Clutter, and
much more.
Notable changes since PyGObject 3.12.0:
Gdk.Event supports setting union member fields directly based on the
event type (Christoph Reiter)
(#727810)
GLib.GError and GLib.Error are now unified (Simon Feltman)
(#712519)
Non-introspected signals support marshaling cairo objects
(Simon Feltman)
(#694604)
GTypeClass methods show up as Python GObject class methods
(Johan Dahlin)
(#685218)
Widget.style_get_property and Container.child_get_property
return values as Python native types when applicable, making the
GValue argument optional. (Simon Feltman)
(#685076)
PyGObject 3.13.2 has just been released. This release fixes many long
standing issues and hits a milestone in our testing of having over 1,000
unit tests.
PyGObject is run-time binding system for exposing the GNOME platform to
Python. This includes libraries like GTK+, GStreamer, Gio, Clutter, and
much more.
What's new in PyGObject 3.13.2:
Unification of GLib.GError and GLib.Error. GLib.Error should be used
for any exception handling while GLib.GError is a
compatibility alias. (Simon Feltman)
(#712519)
New API gi.require_foreign() for ensuring cairo marshalling
is supported. (Simon Feltman)
(#707735)
Automatic marshalling of cairo objects from non-introspected
signal arguments. (Simon Feltman)
(#694604)
GTypeClass methods are now directly available on Python
GObject classes. This allows calling previously un-available methods
like: Gtk.Widget.list_child_properties (Johan Dahlin)
(#685218)
Gtk.Container.child_get_property and
Gtk.Widget.style_get_property now return Python native values and
the pass-by-reference "value" argument is optional (Simon
Feltman) (#685218)
Add Gtk.Container.child_get and child_set for working with
multiple child properties (Simon Feltman)
(#685076)
Python 3.4 make check fixes
PEP8 fixes
Download
The new release is available from ftp.gnome.org and git.gnome.org:
Back in 2004 I helped out a co-worker on a
Machinima movie for the Make
Something Unreal
contest. The movie was created using the Unreal video game engine and
renders in real-time, making for some interesting dynamics (fight scenes
are different each time you watch it). We ended up winning first place
in the fourth quarter finals and second place in the grand finals.
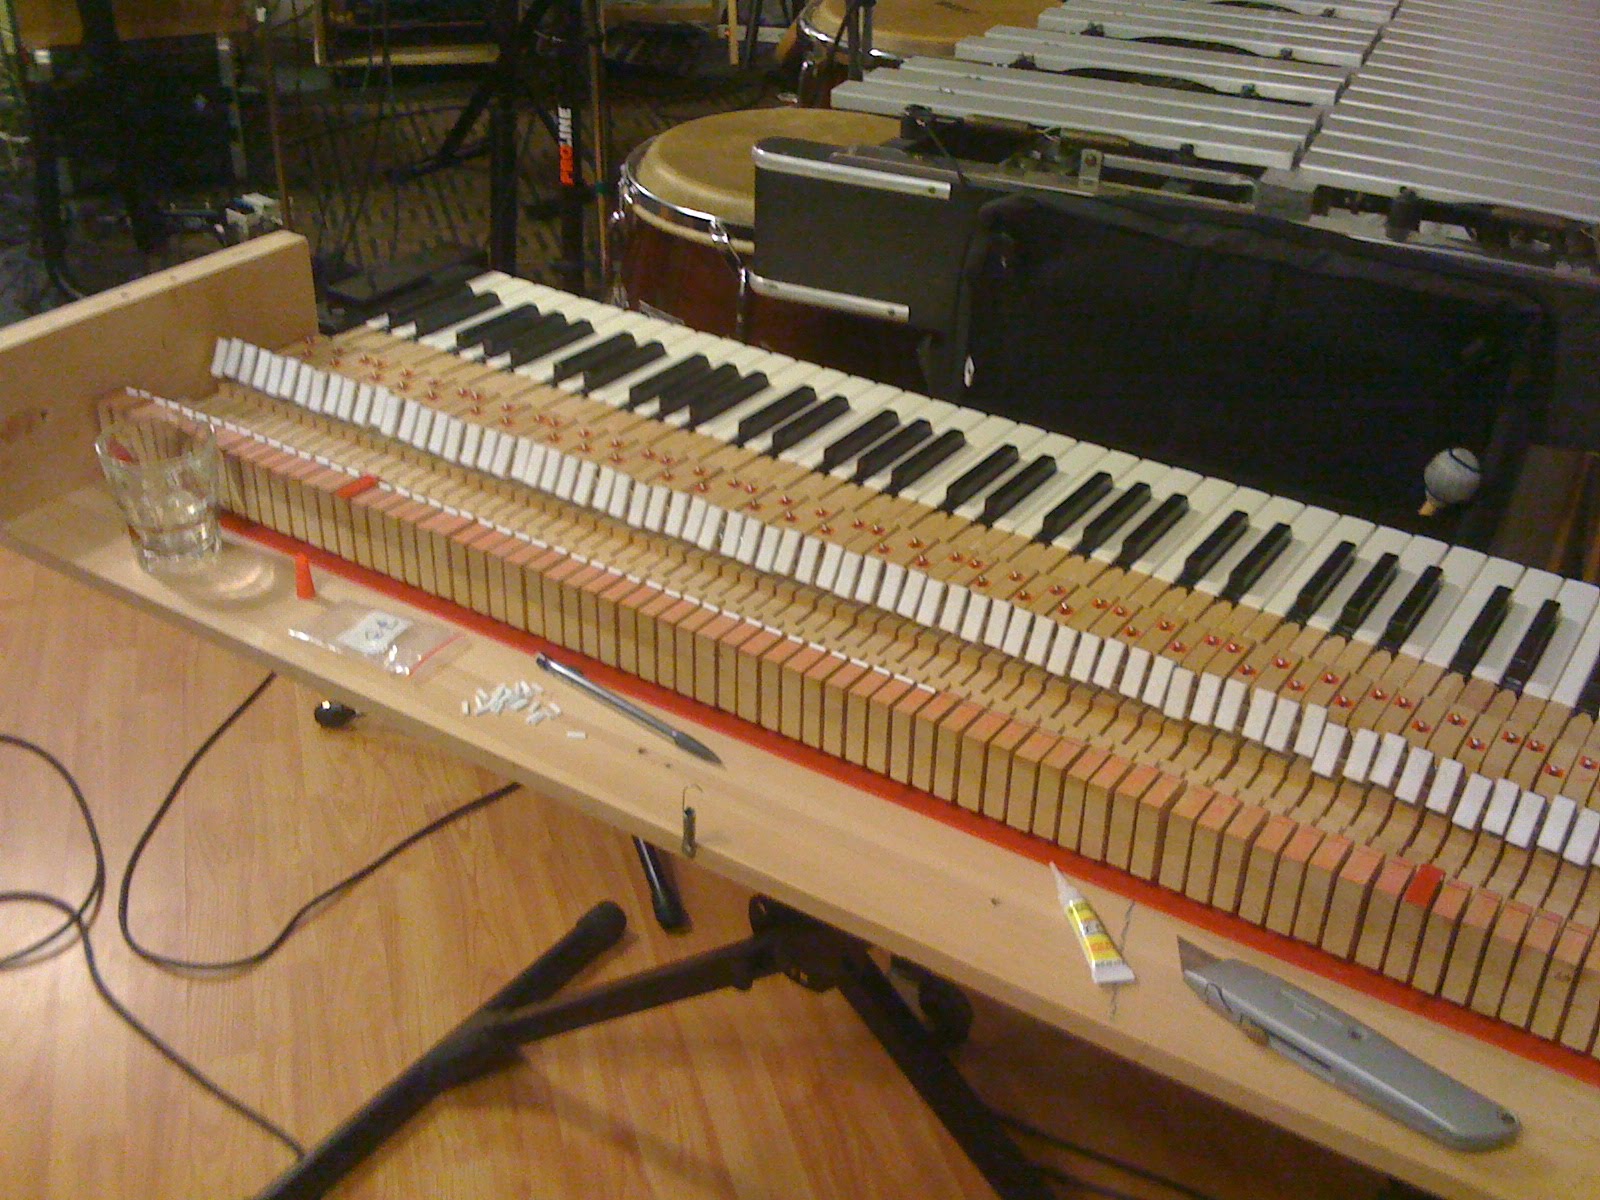
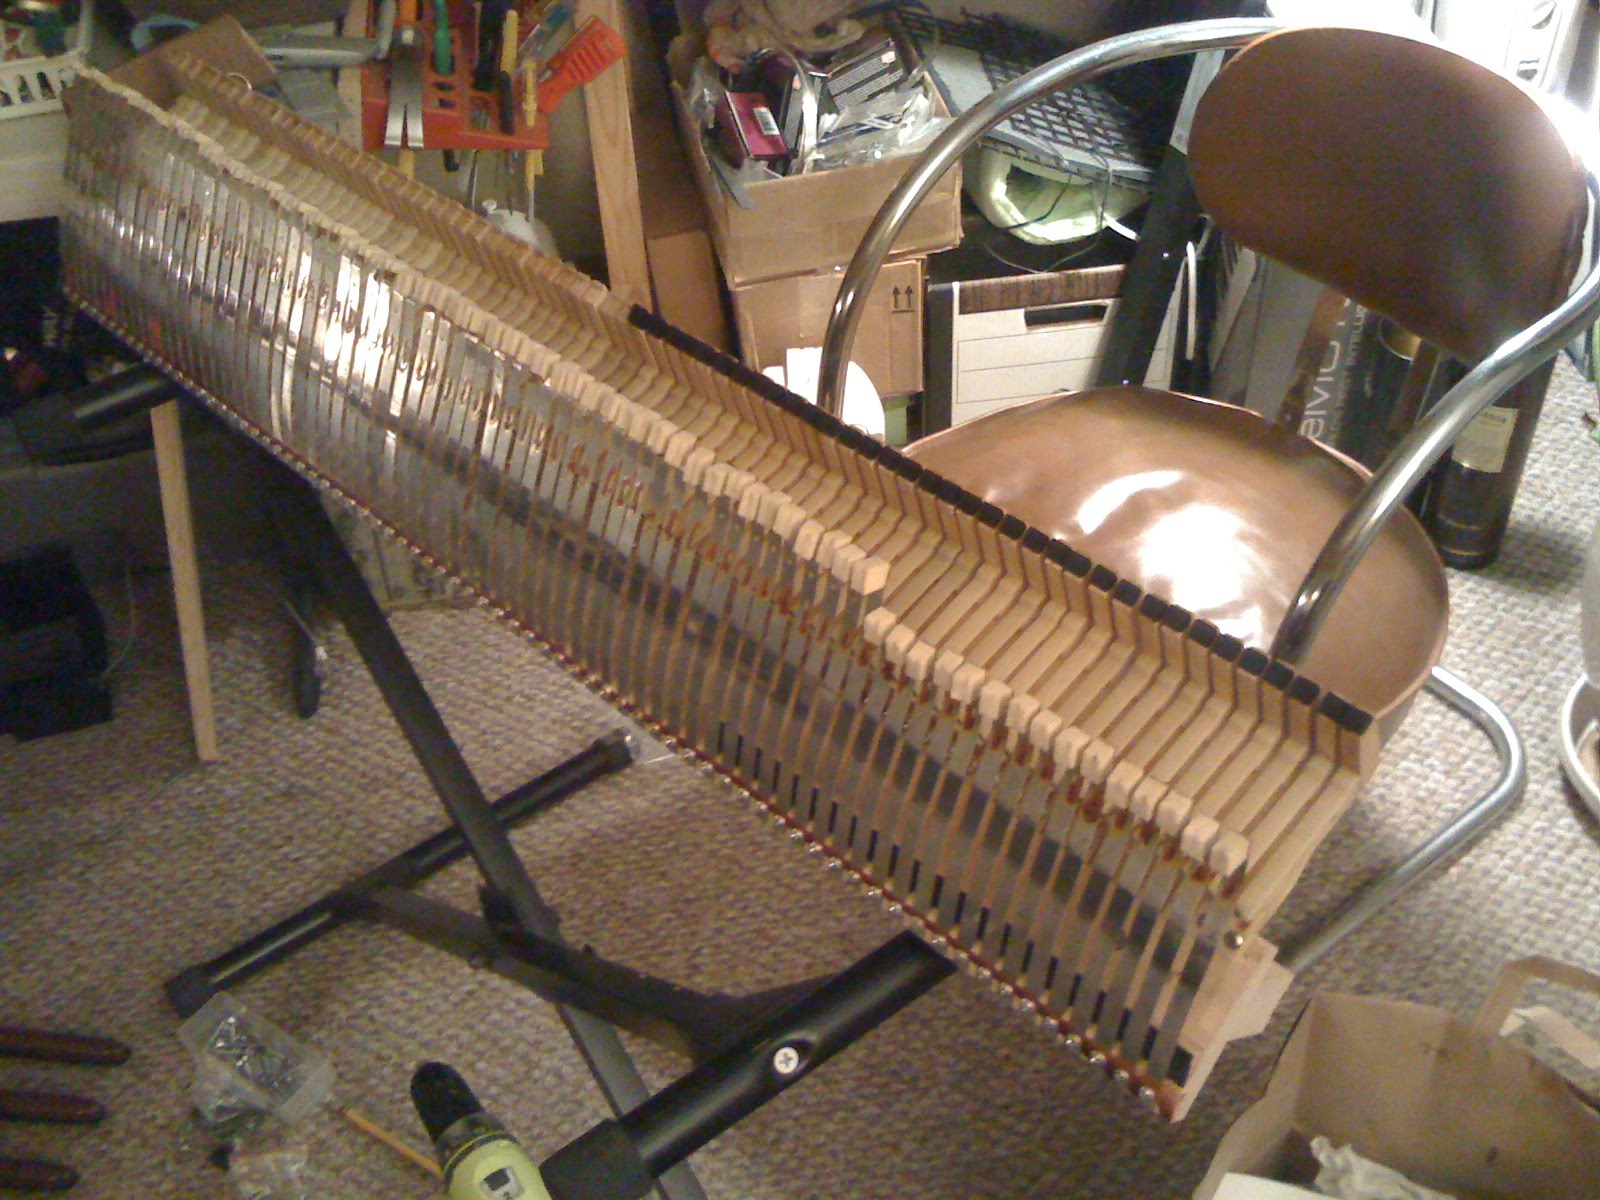
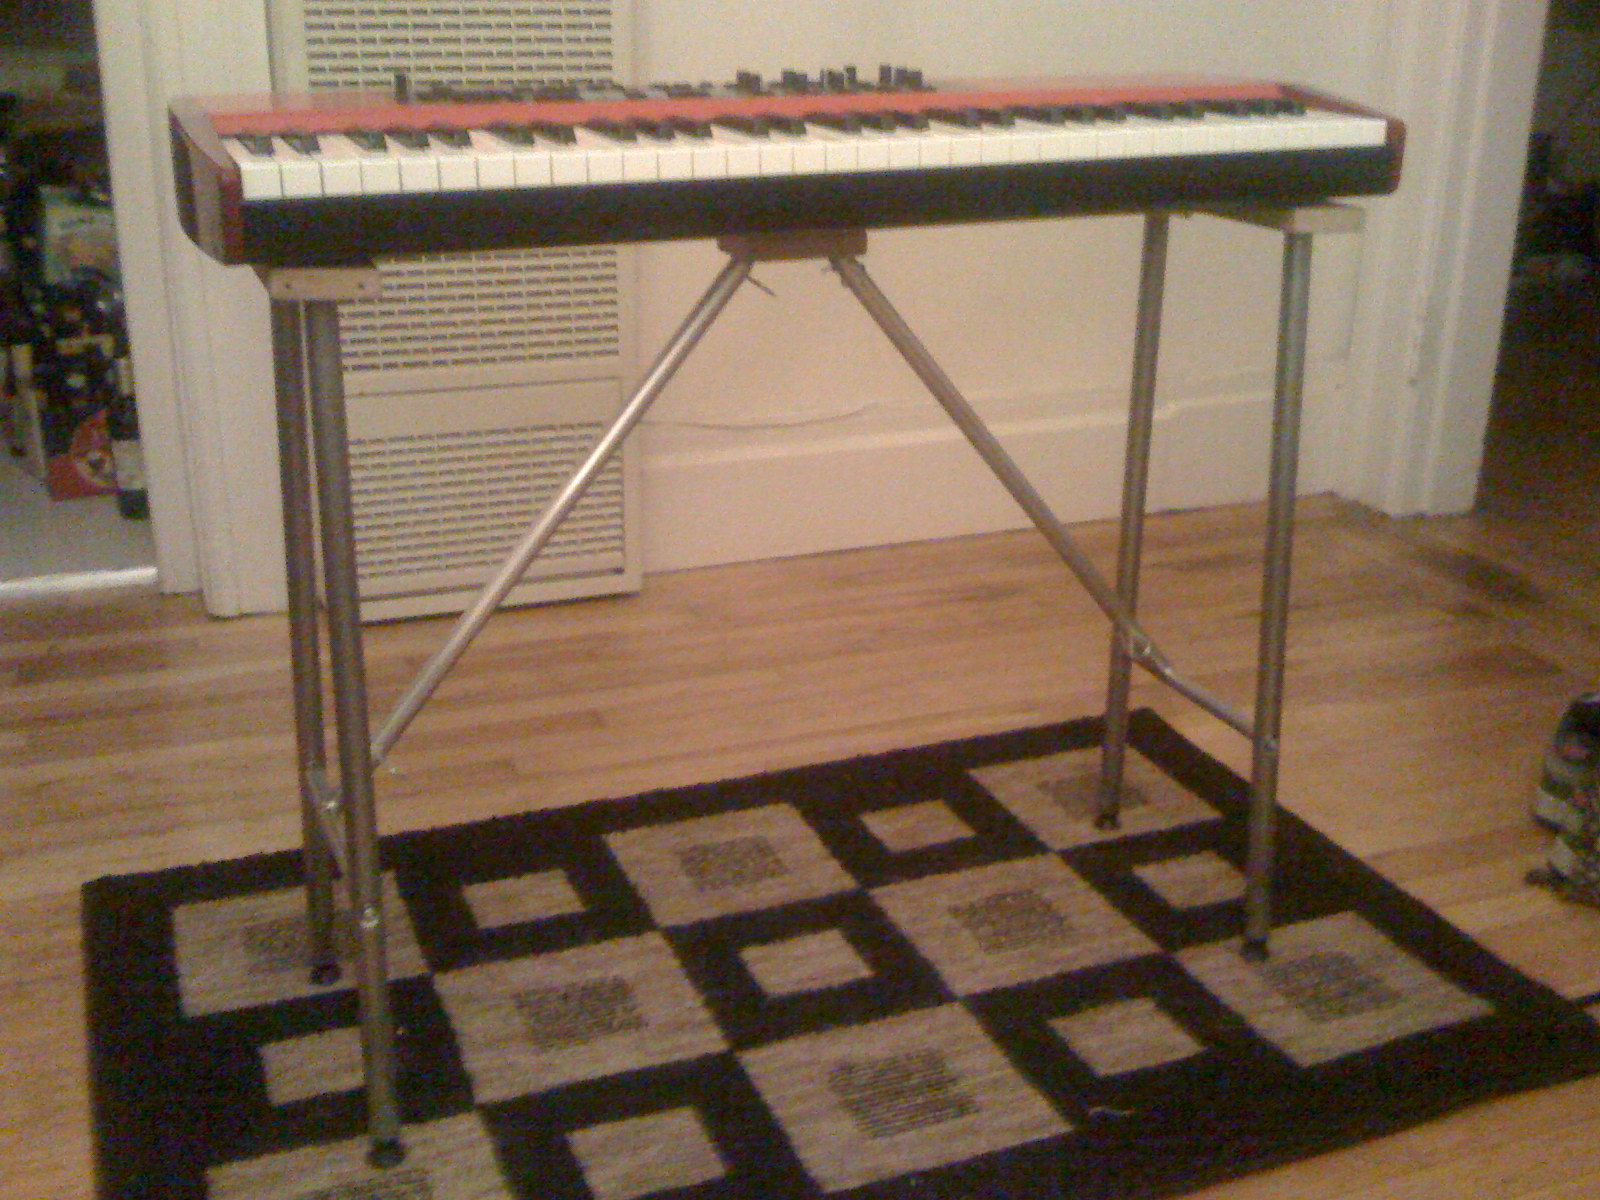
A lot of rhodes electric keyboards I've played have terrible action,
usually sluggish and bouncy. I've installed some mods on mine
from vintagevibe.com which transformed it
into something very playable:
Miracle Mod
Back Check Mod
New Hammer Tips
Most of the techniques for installing this stuff can be found in youtube
videos from vintage vibe. But there are a few techniques I found that
can help out as well.
Miracle Mod
The miracle mod is by far the most important mod for improving the
rhodes keyboard action. This mod places a small bump between the key and
the hammer making the contact area between the two smaller. This makes
it so there is less friction between the two parts giving a faster and
lighter action. Keep in mind this mod should be done BEFORE the back
check mod. I didn't do it this way and had to re-adjust all my back
checks since the hammers actually sit a little higher up with the
miracle mod.
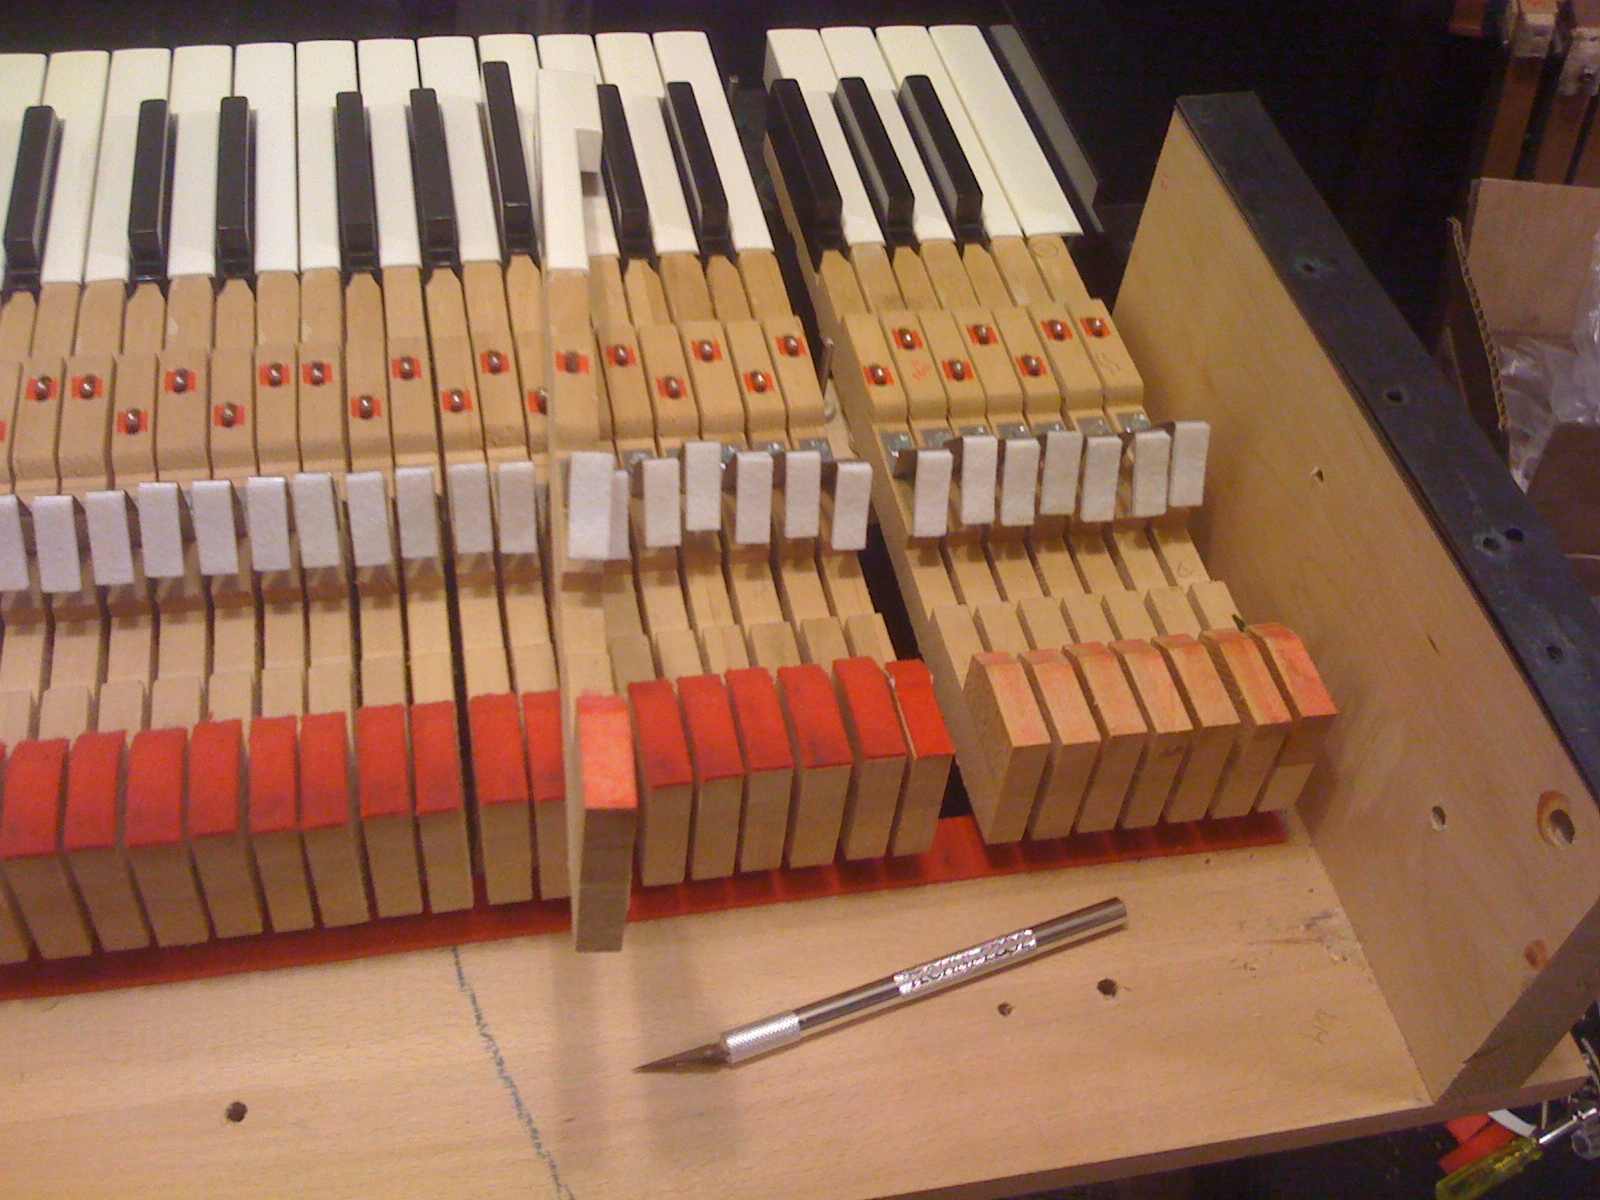
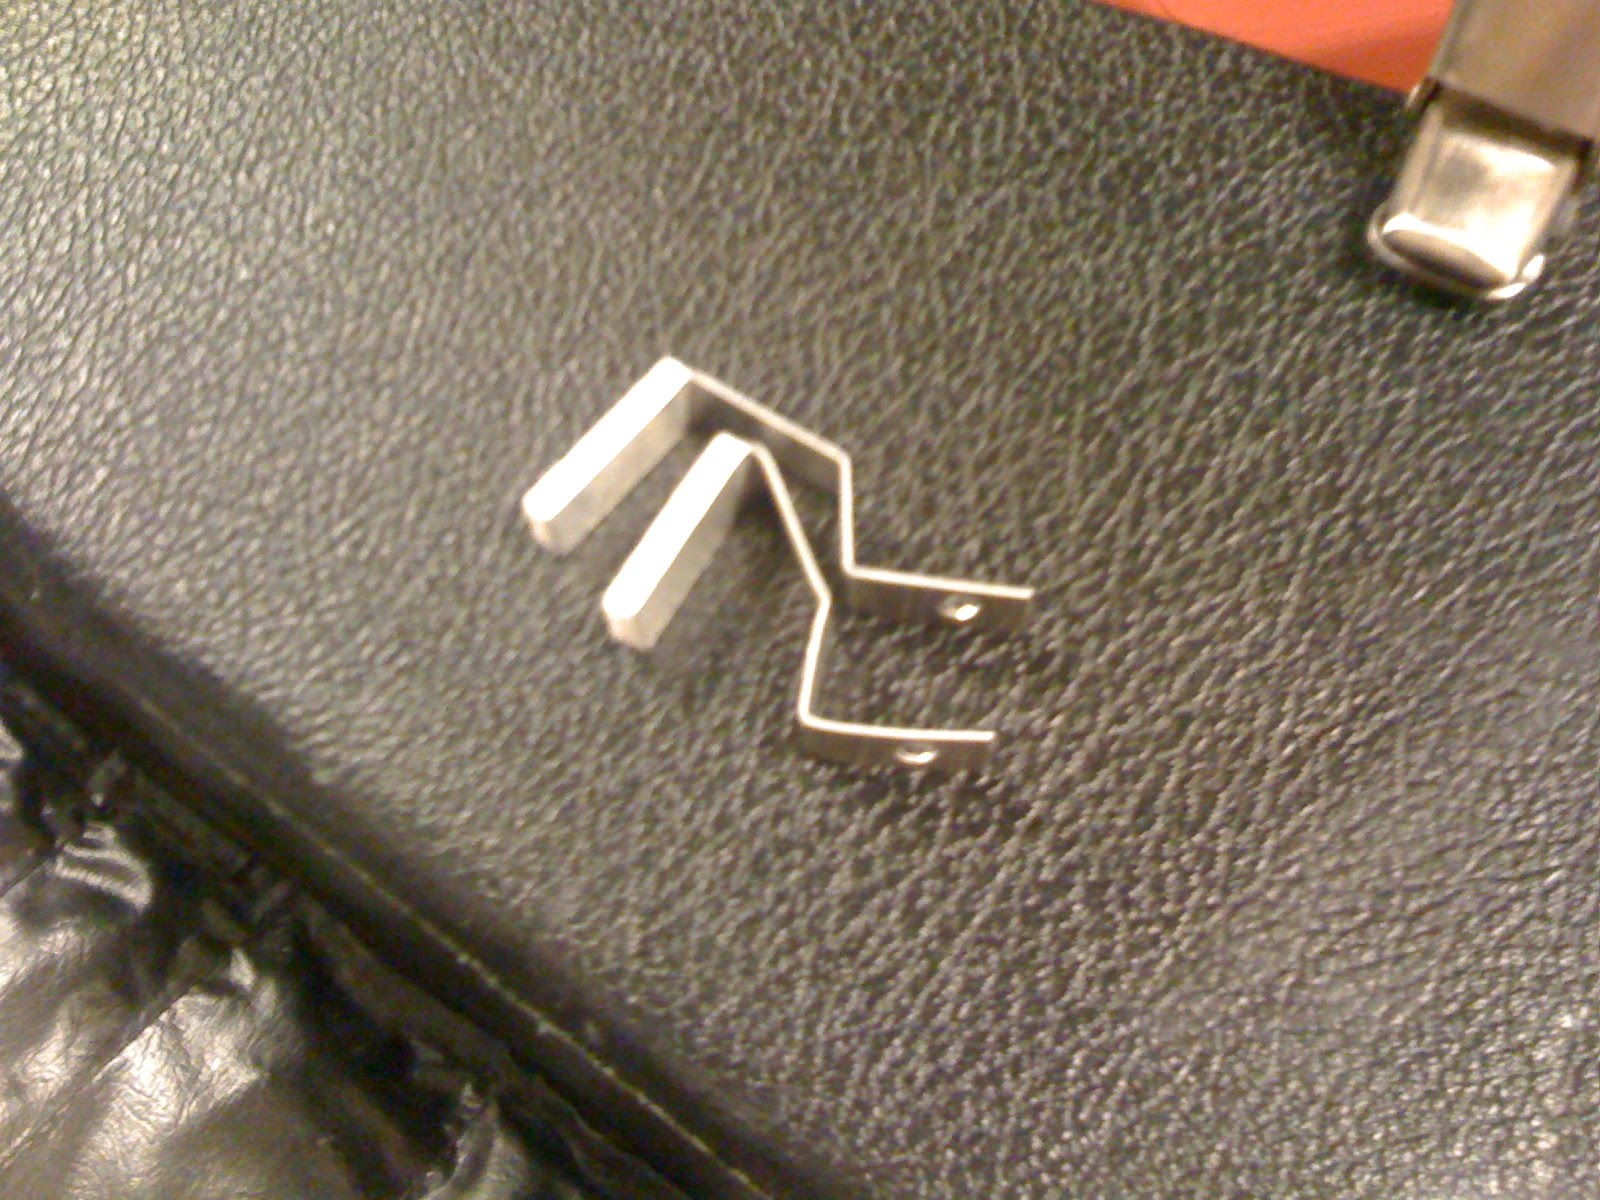
Back Check Mod
The back check mod keeps keys from bouncing back allowing for better
articulation and feel. The instructions from vintage vibe are ok.
However, there are a few extra bits of knowledge I recommend following:
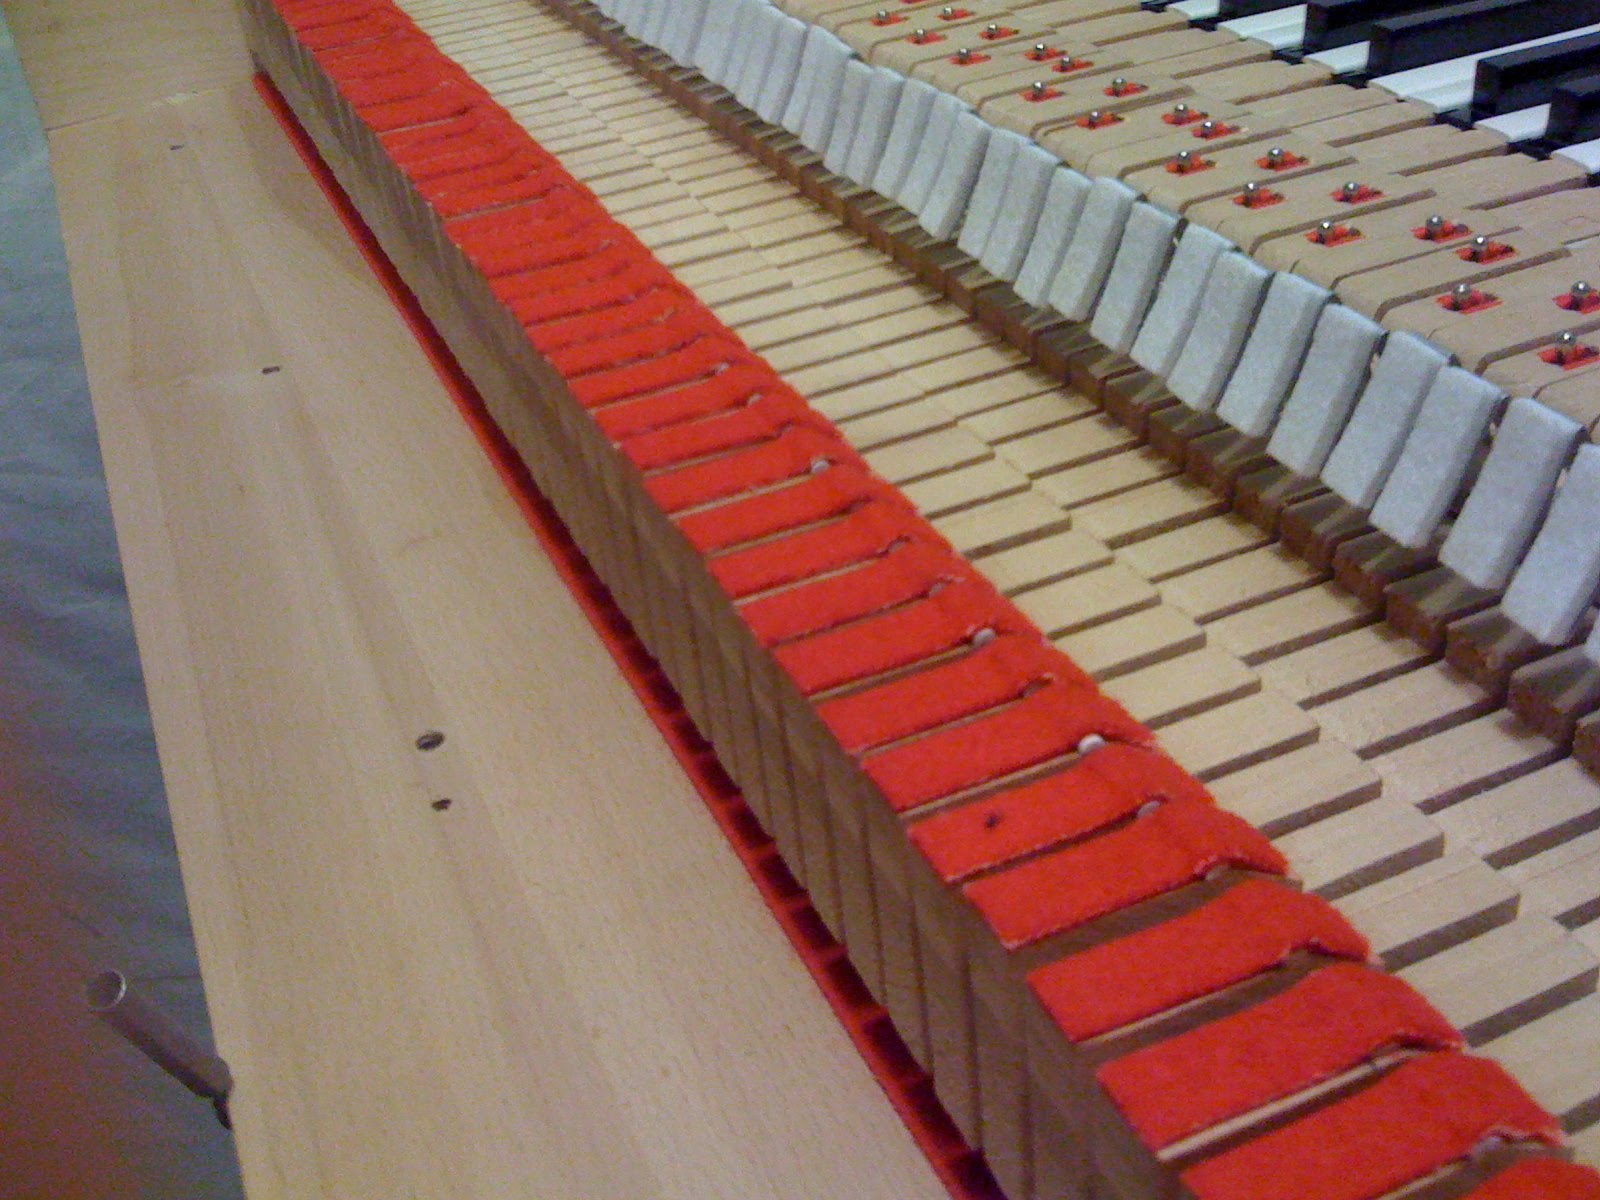
Drill pilot holes in the keys, I had a few keys split a little bit
around the screw. Even though the video instructions say the pilot
holes aren't needed, do it anyway.
Sand the back of the hammers where they touch the back checks with
fine grid sand paper. Make em smooth with no burs. This will ensure
the hammers don't drag needlessly on the back checks and slow your
action down.
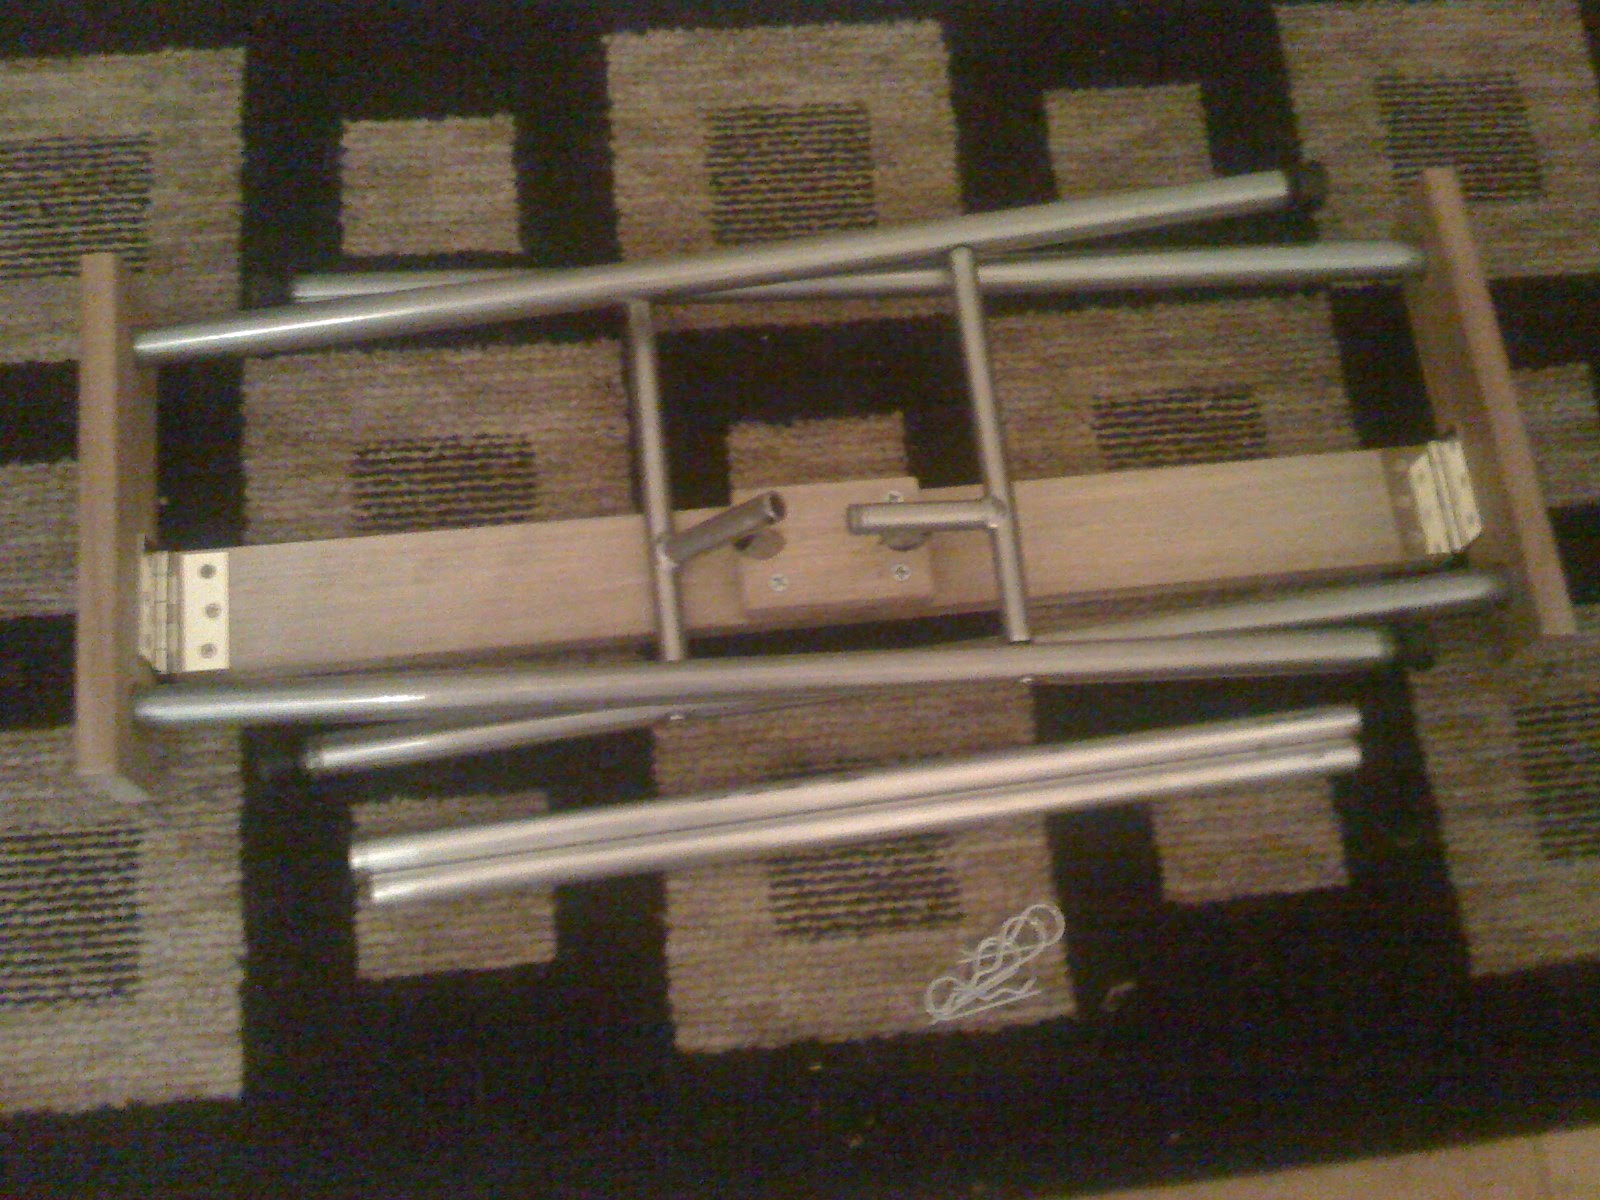
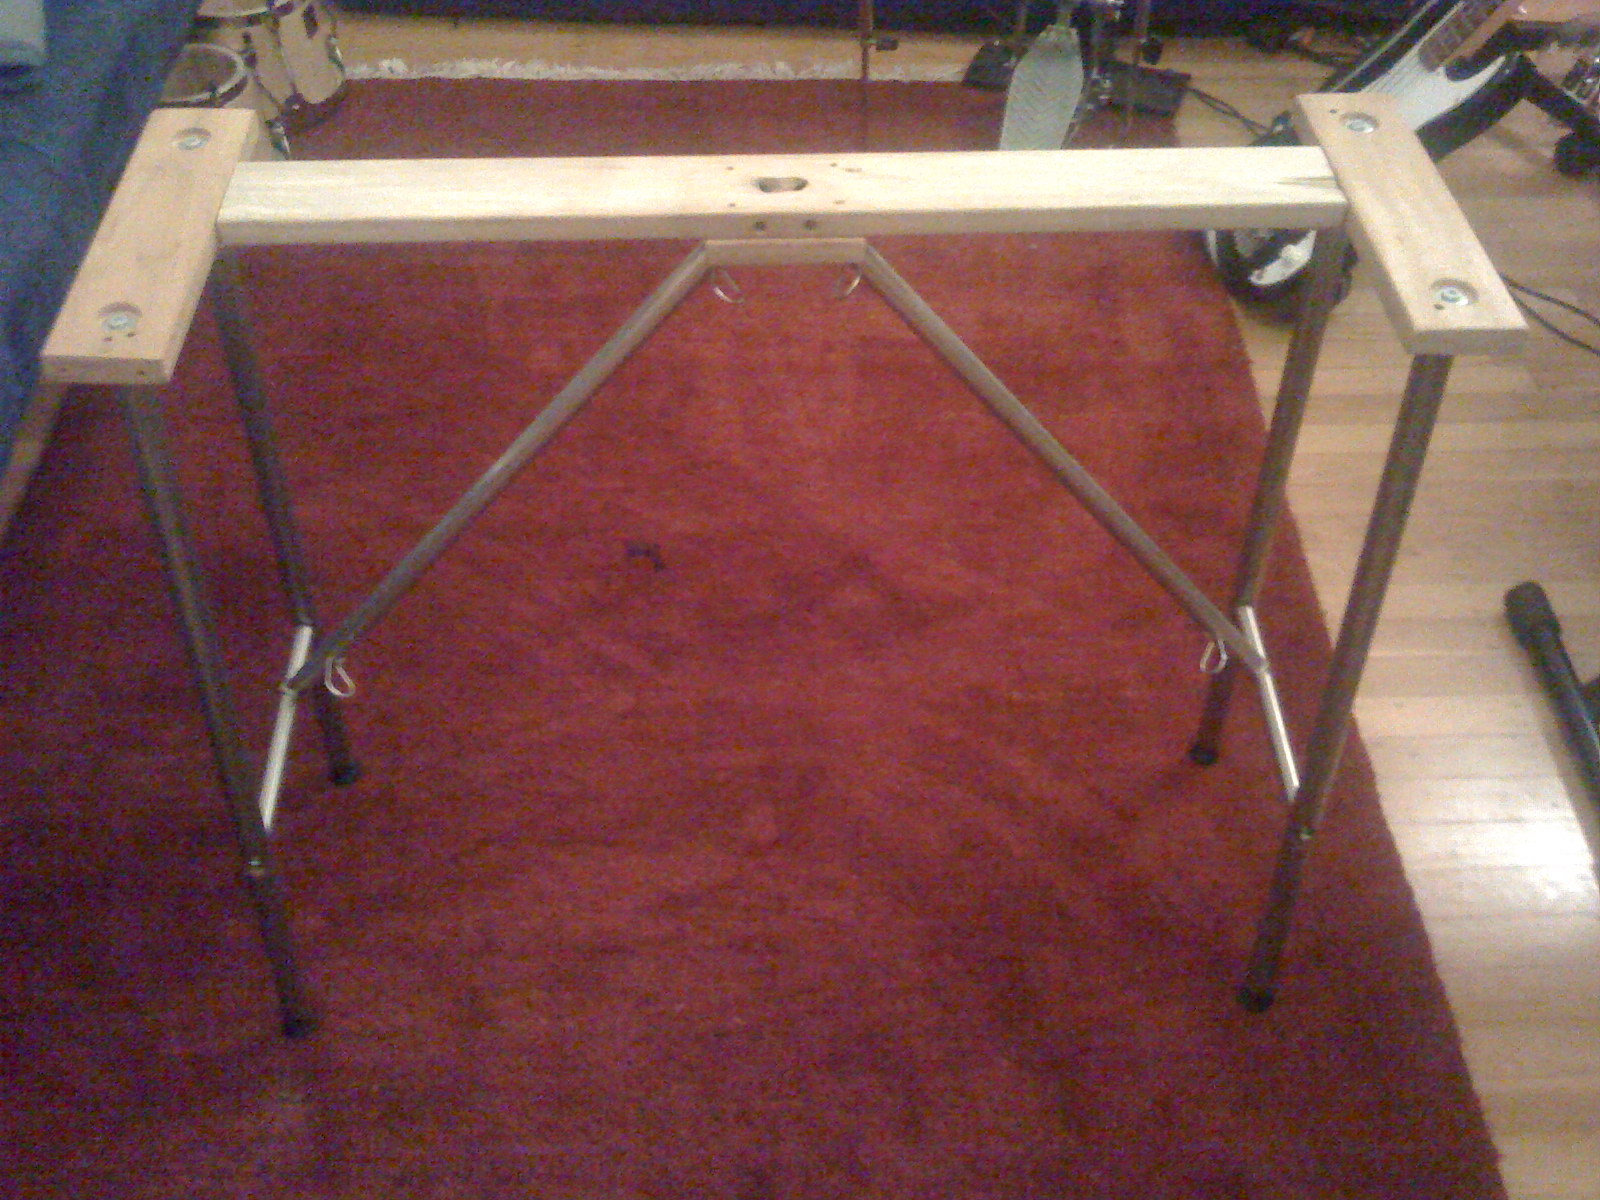
Bend the back checks so they sit as high up on the hammer
as possible. Adjust them to avoid the hammer sliding on them to
avoid extra friction. The bottom back check in the pic below is how
I was able to add height.
Add the back check mod AFTER the Miracle Mod if you are doing
them both. Otherwise, you will need to re-adjust the backchecks again
once the Miracle Mod is installed.
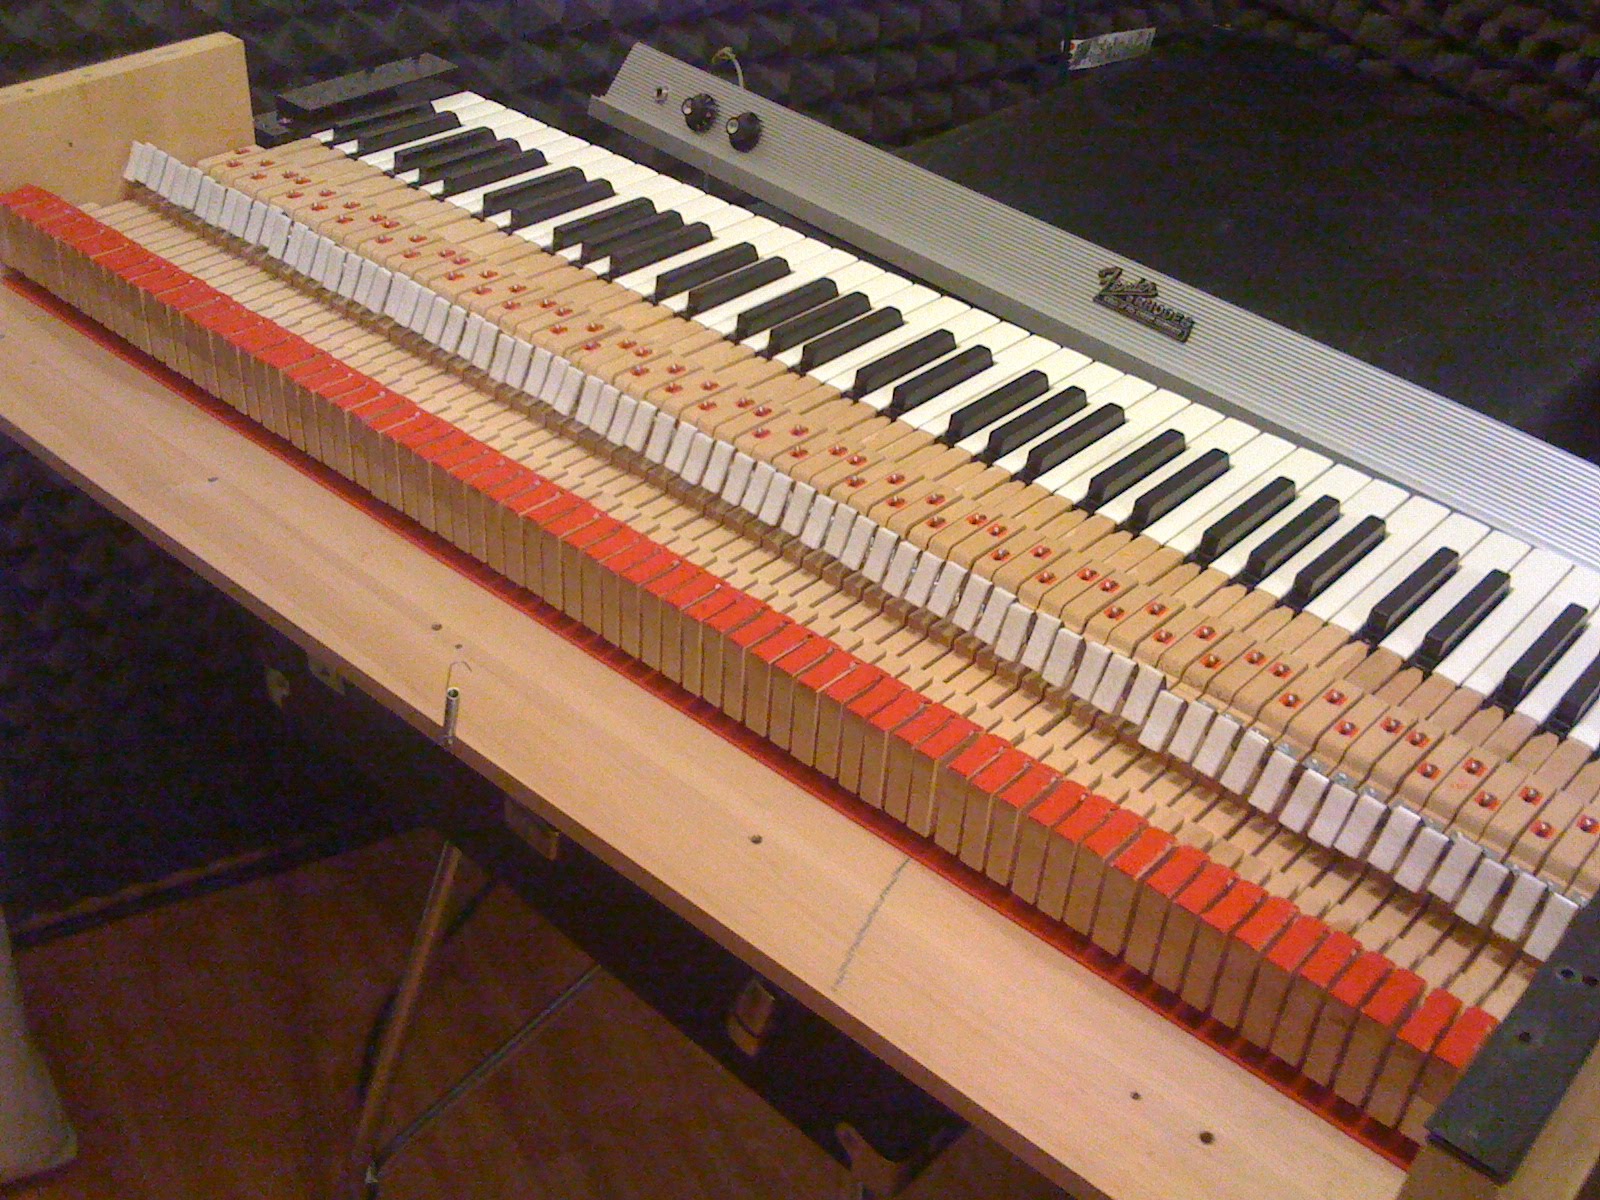
Hammer Tips
Changing out the hammer tips is fairly strait forward and gives a more
consistent and even tone across the keys.
Here is a small movie I made of skate clips from about three years ago
and beyond. The last clip was about 10 years ago while I was in
Indonesia visiting my buddy Sal. I really need to get back into skating!
This song was created last year after wanting to express some funk on
the cheesy side of things. I was also eating a lot of grilled cheese
sandwiches at the time :) The song was mostly sequenced drums, bass, and
rhodes with improvised clav, lead synth, and organ.
The lineup:
Beat: sampled hits banged out on a roland sp-555
Bass Synth: Gforce mini monsta (mini moog emulation software)
Lead Synth: Korg R3
Rhodes, Clavinet, B3 all played with a nord electro 2
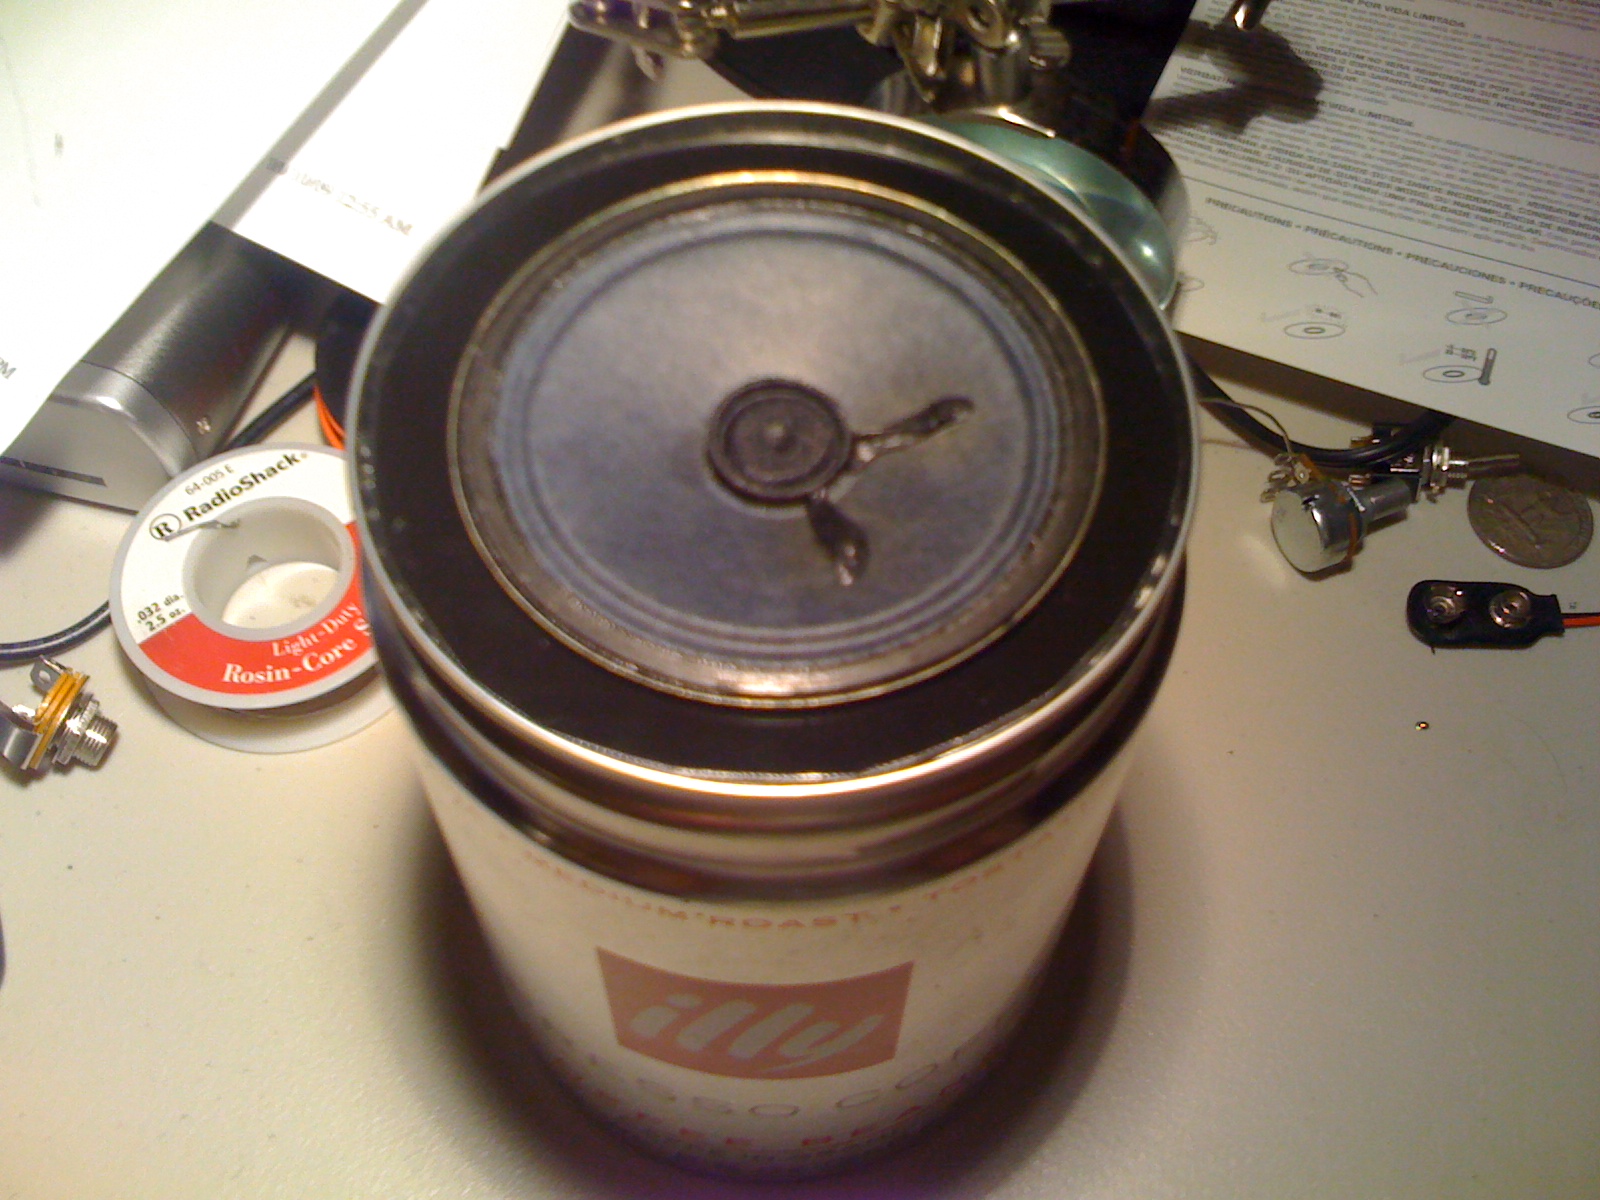
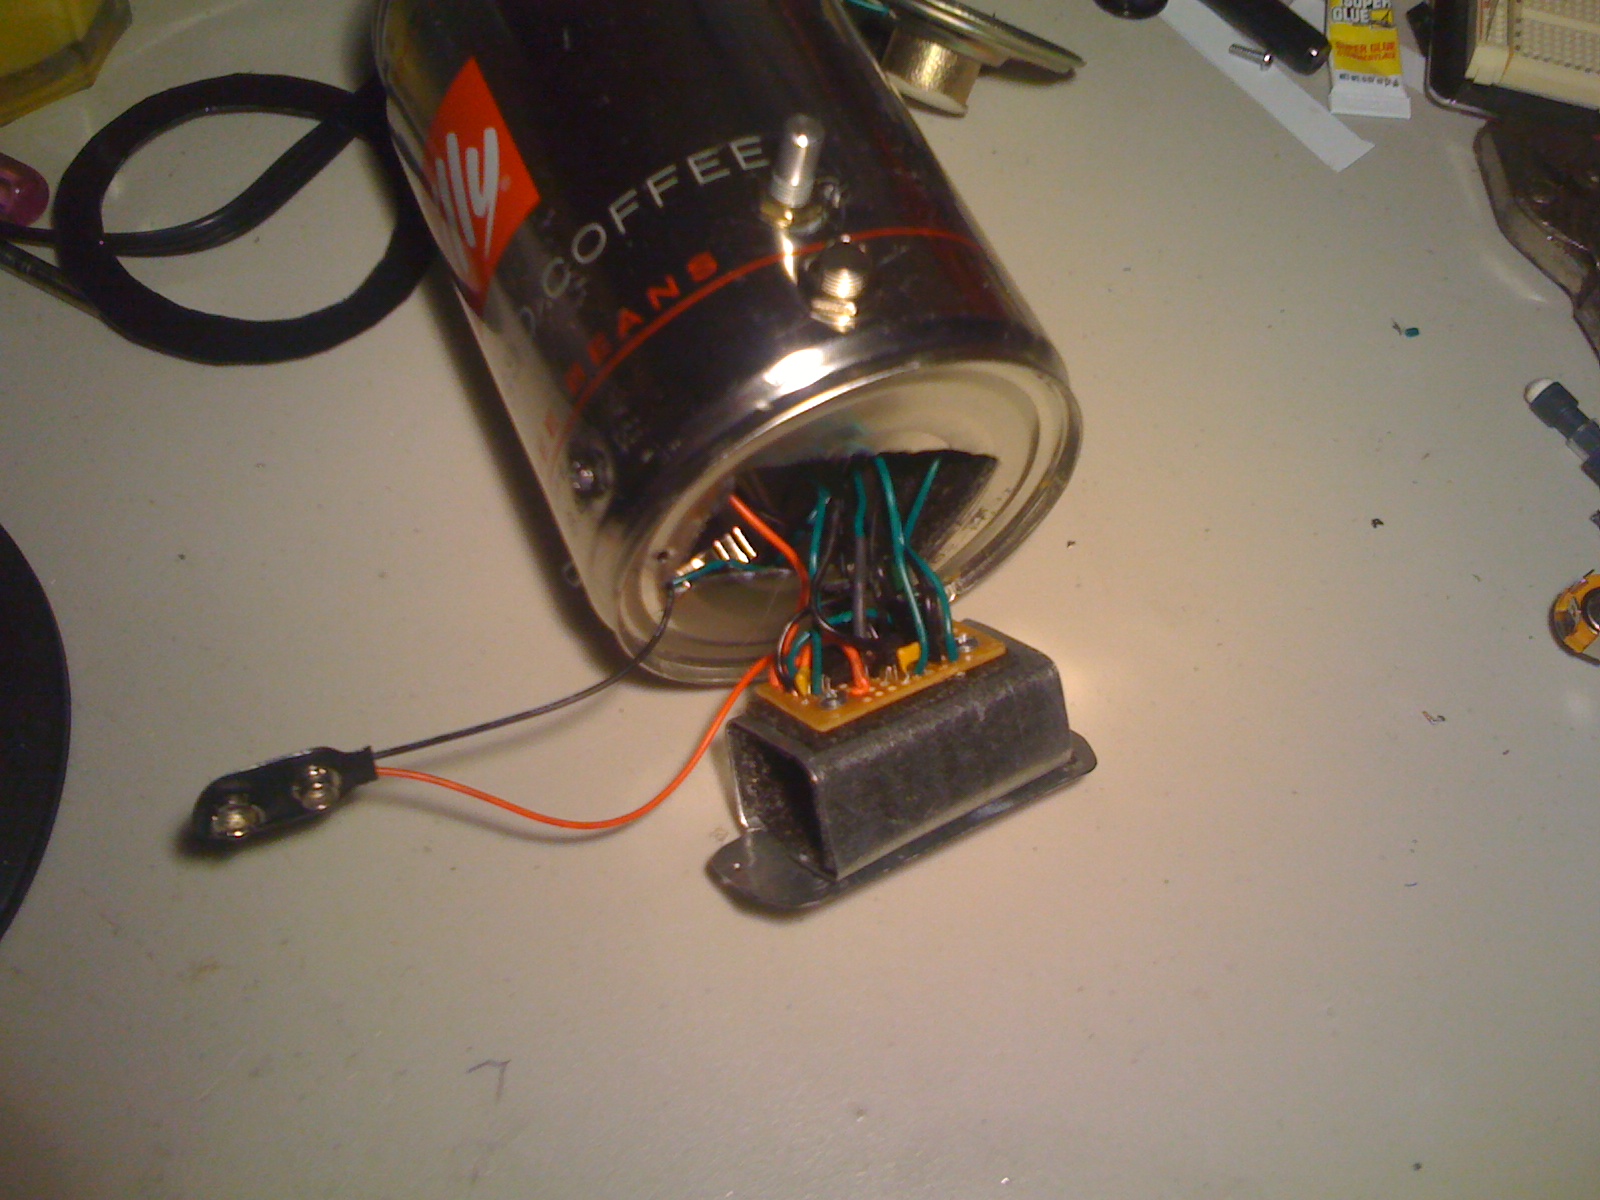
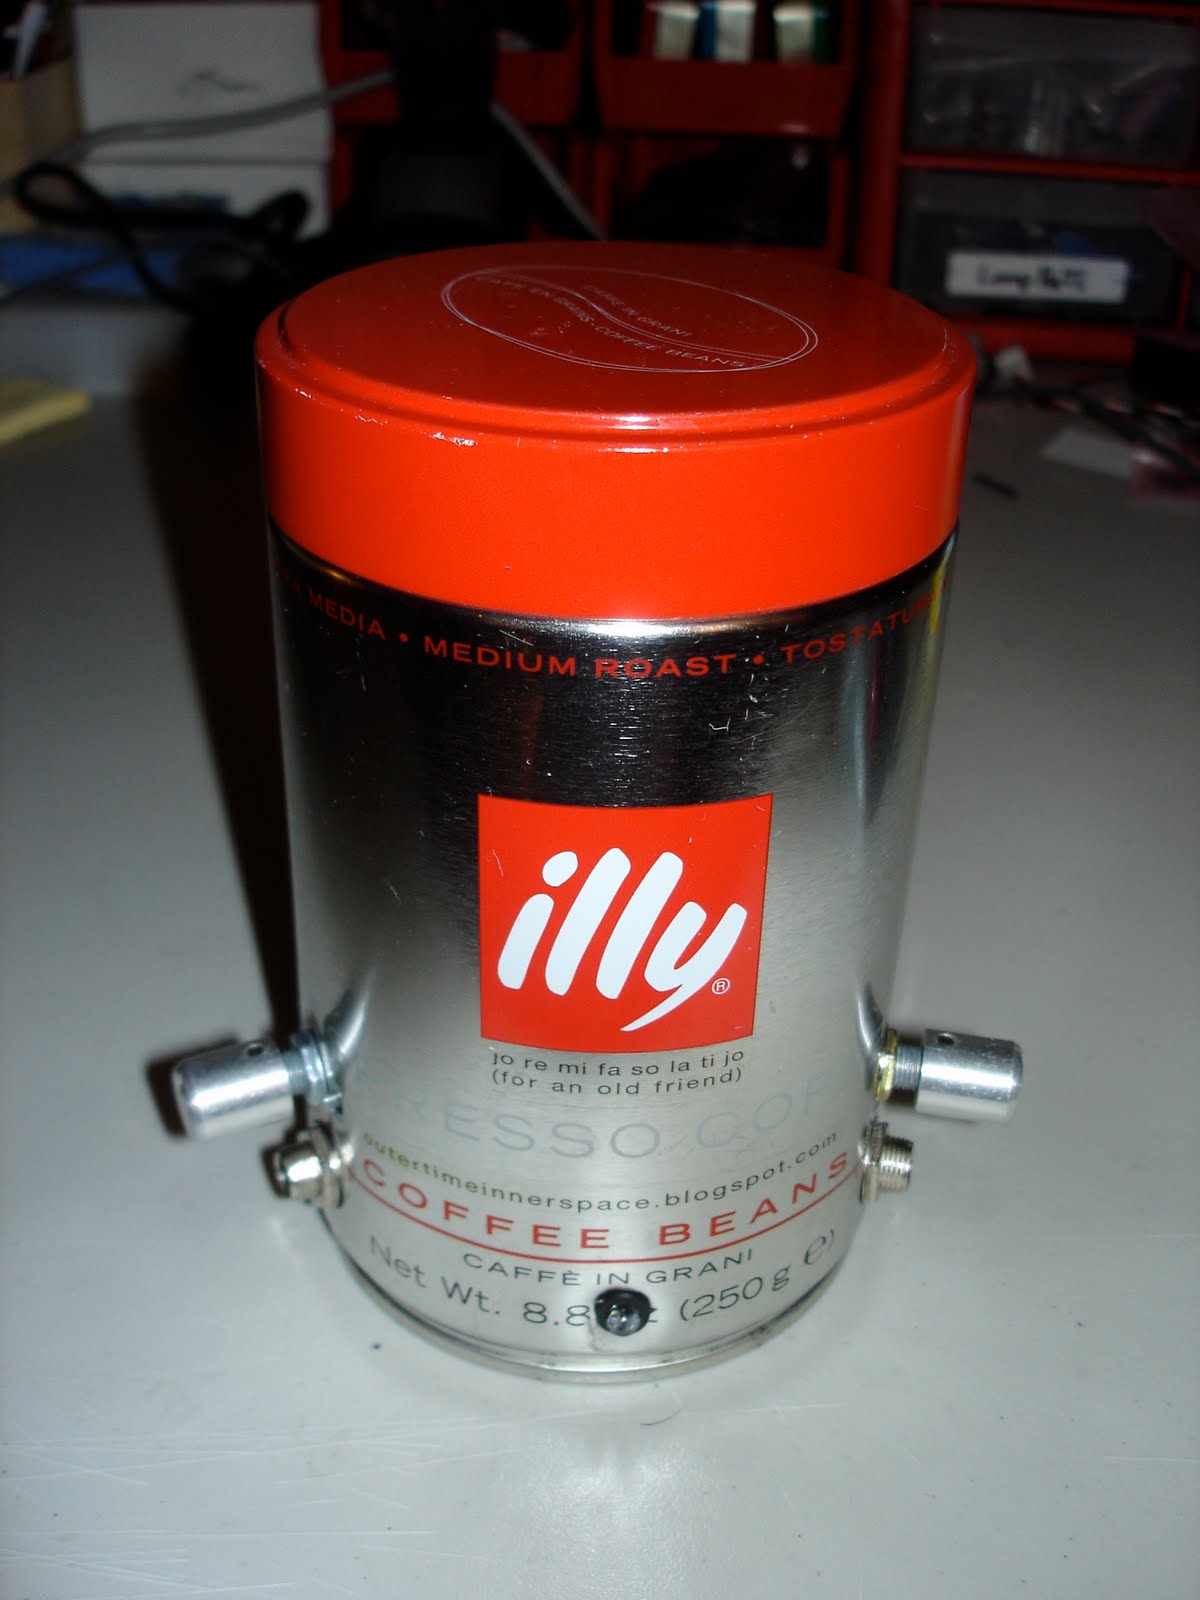
This put me on the constant lookout for project boxes of similar sorts.
The can from the illy espresso I'd been drinking stuck out, and I knew
it was the right thing for the next version which could also house a
small speaker.
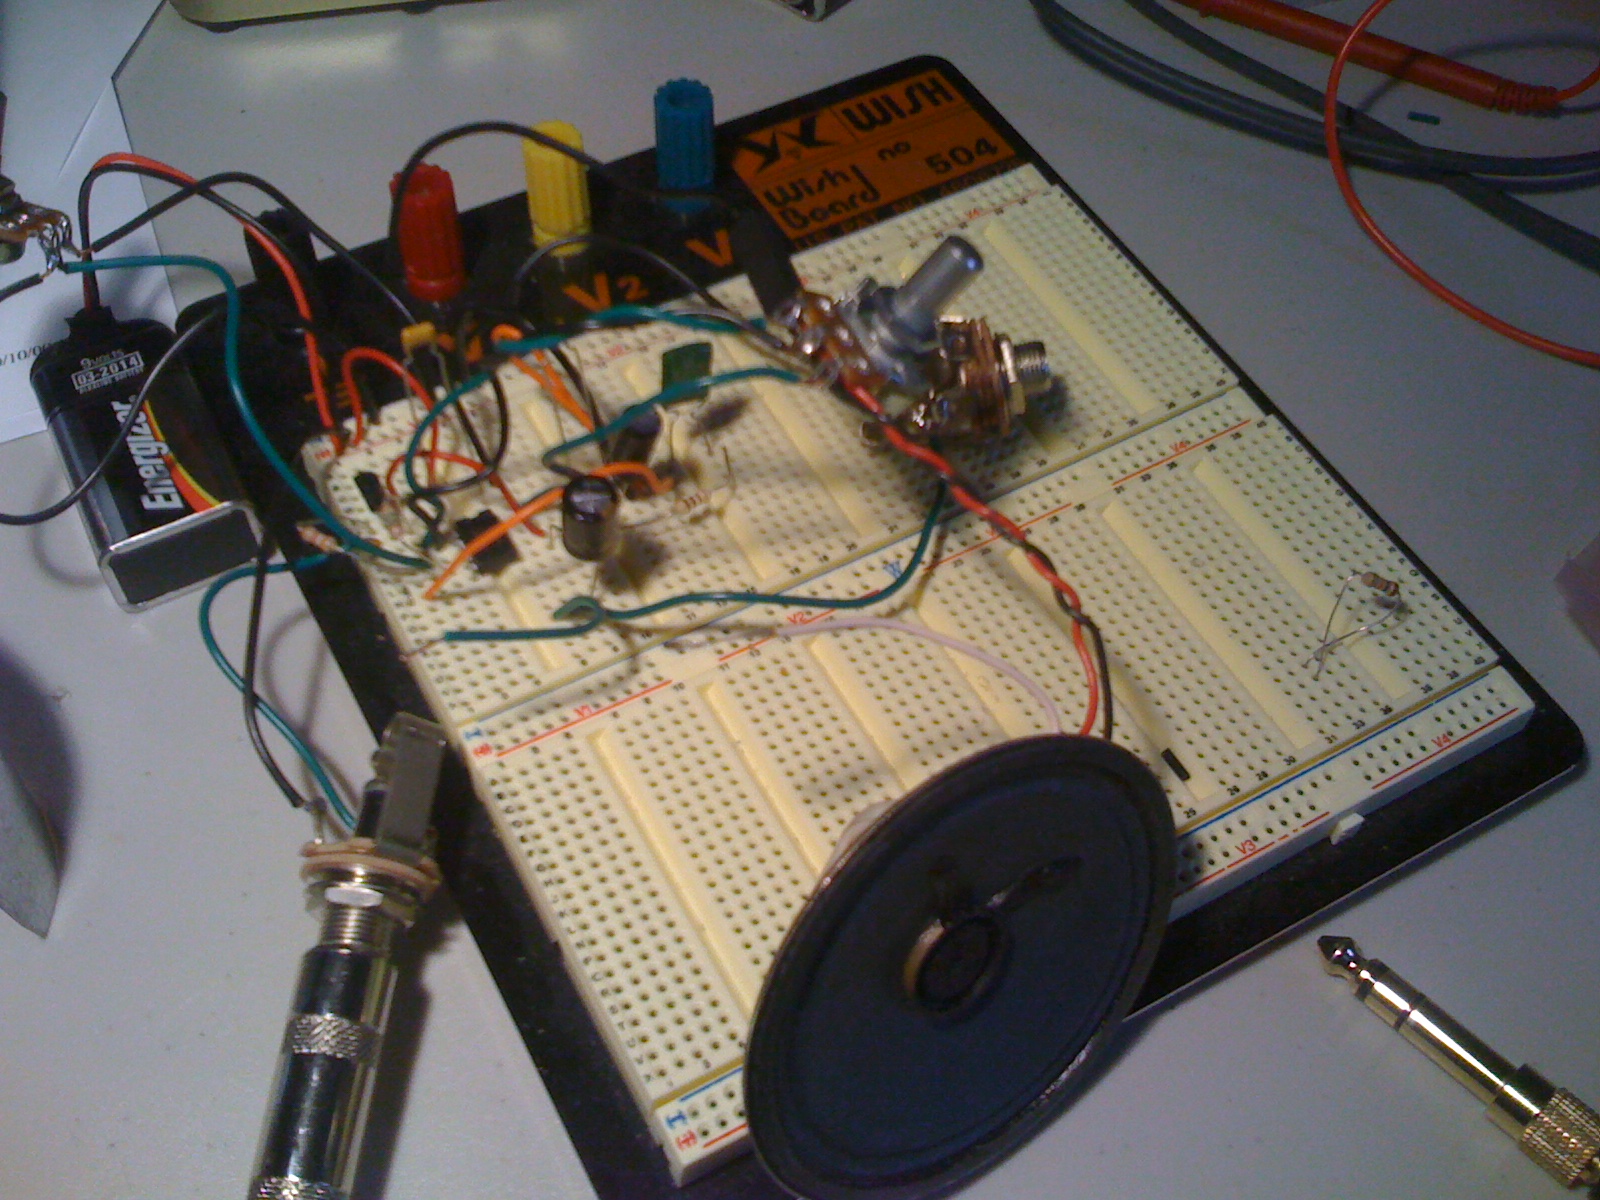
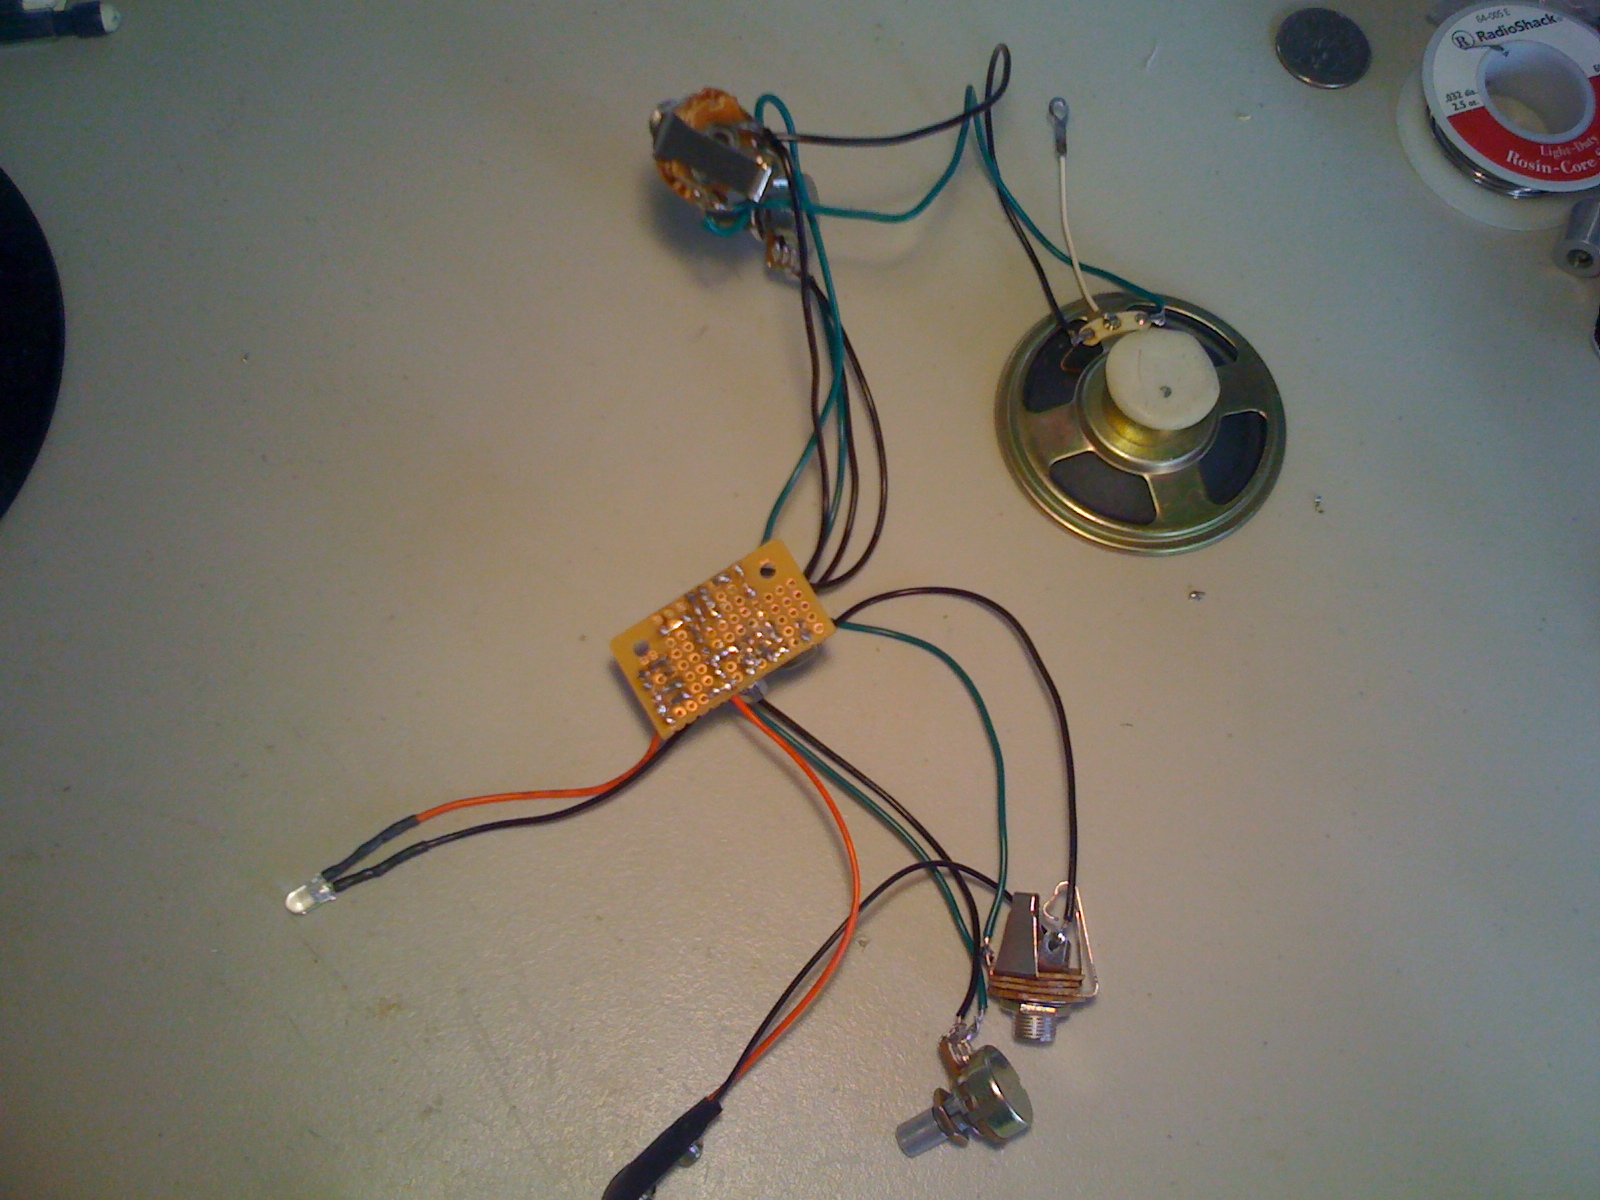
The buildout started with the electronics and I wanted to build the amp on
to a perf board half the size of the one I used for the altoids amp. As
always, soldering all these electronics together can be tedious. The
more planning you do prior to buildout the easier the job is. However,
if you lack experience in a subject matter (in my case electronics) it
takes a certain amount of trial and error to even be able to plan
something.
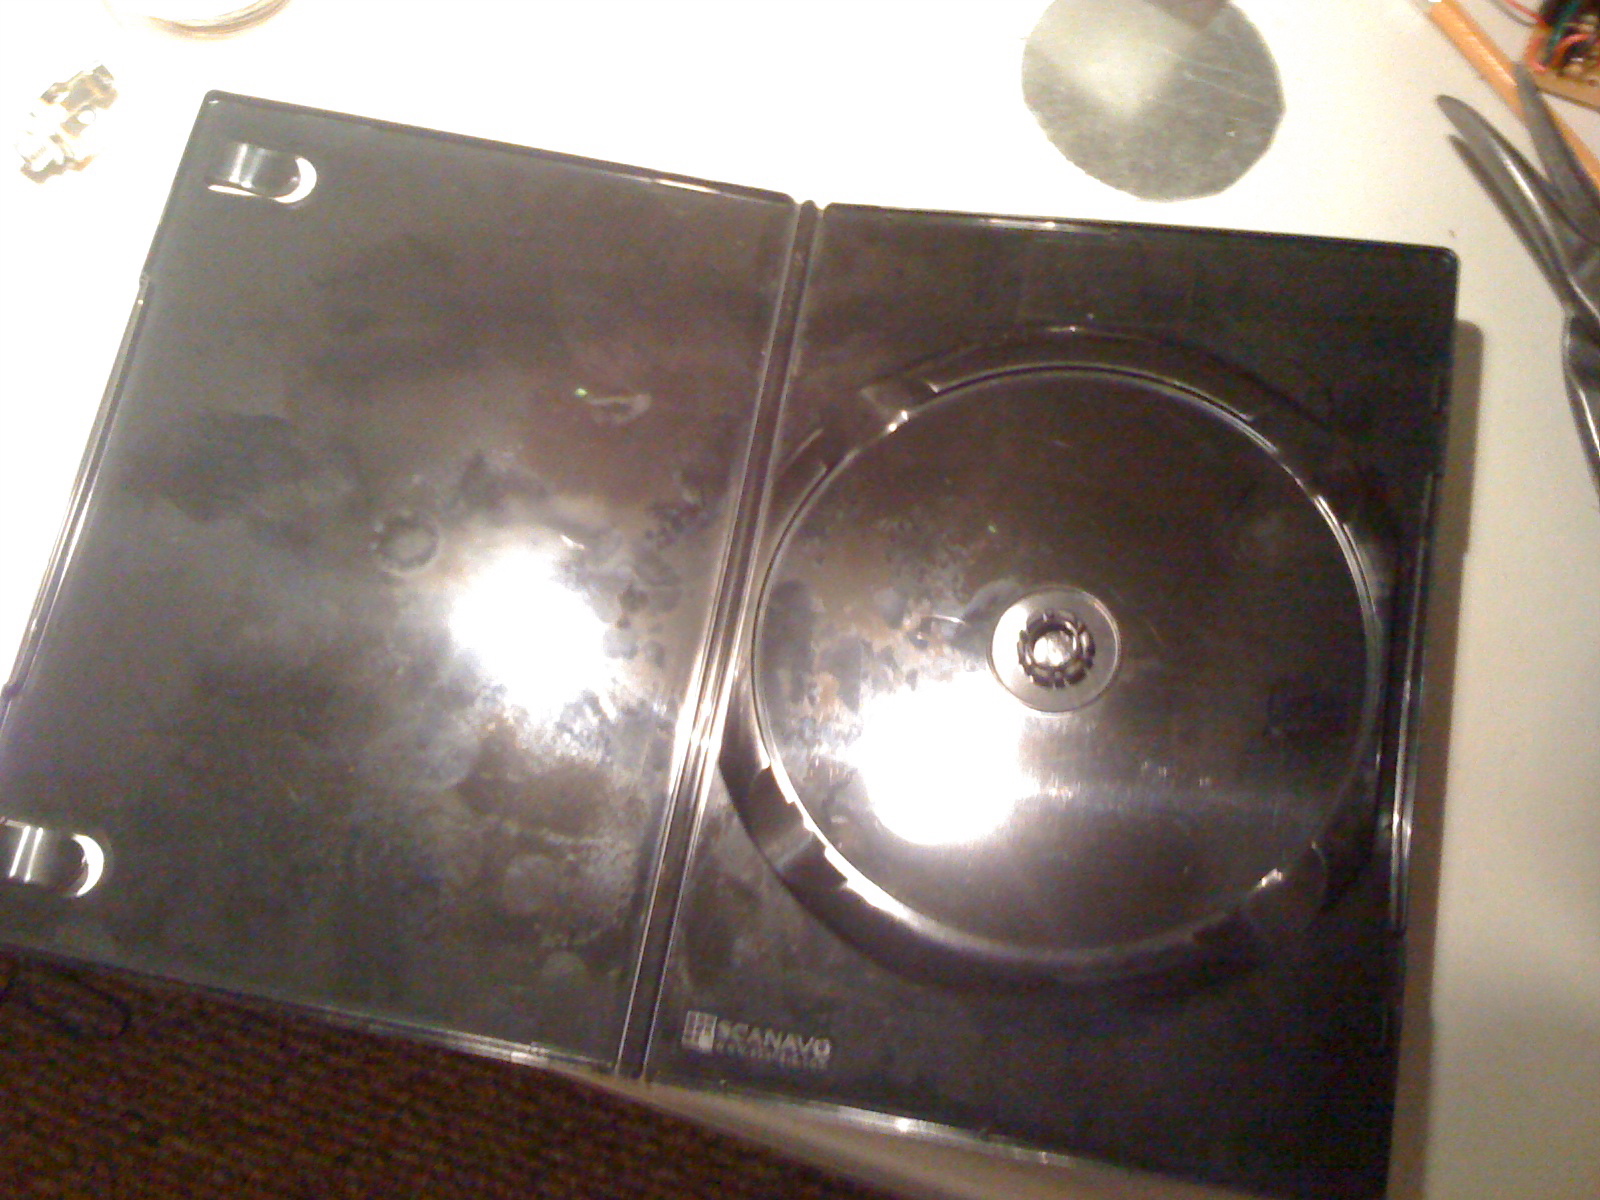
The speaker I bought was about an inch smaller in diameter than the can, so
I needed a large "washer" which could bridge the speaker to the diameter
of the can. I went through a few iterations. Trying to cut a sheet metal
ring resulted in a jaggy nasty thing that cut my fingers up. A CD jewel
case was too brittle and shattered when cut. I finally settled on the
plastic from a DVD case which was soft yet rigid enough for this
purpose.
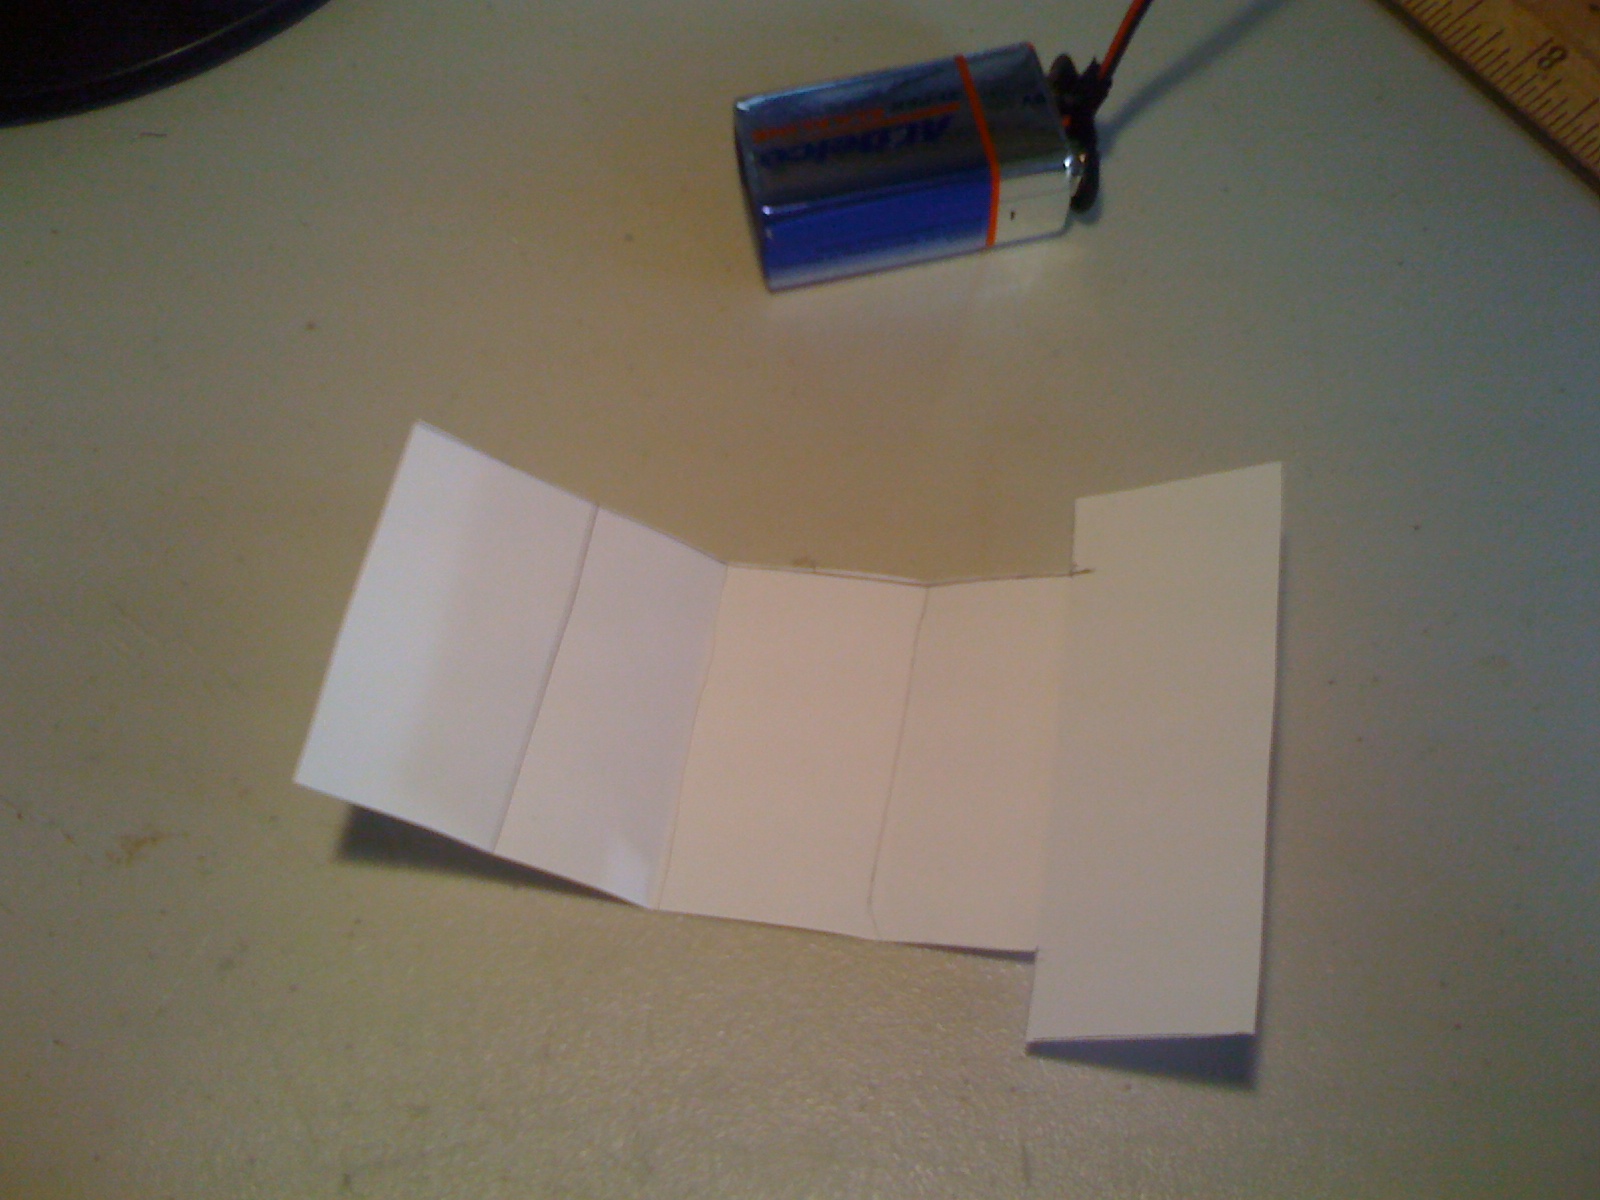
Battery Box
A tricky part of this buildout ended up being the 9volt battery
accessibility.
The bottom is a nice logical spot but how would it be housed and
accessible? I looked online for plastic battery boxes which could
potentially be inserted and slide out for changing the battery. I really
could not find anything that would do what I want or the option was over
priced. I opted to build my own using sheet metal. The design is to
wrap the battery with the metal but have two tabbed edges stick out of
one of the sides that could be screwed into the bottom. I first mocked
up the design with paper and used it as a template for cutting out the
sheet metal. An important part of this was to line the inside with some
left over static foam I had laying around. This kept the battery from
rattling around.
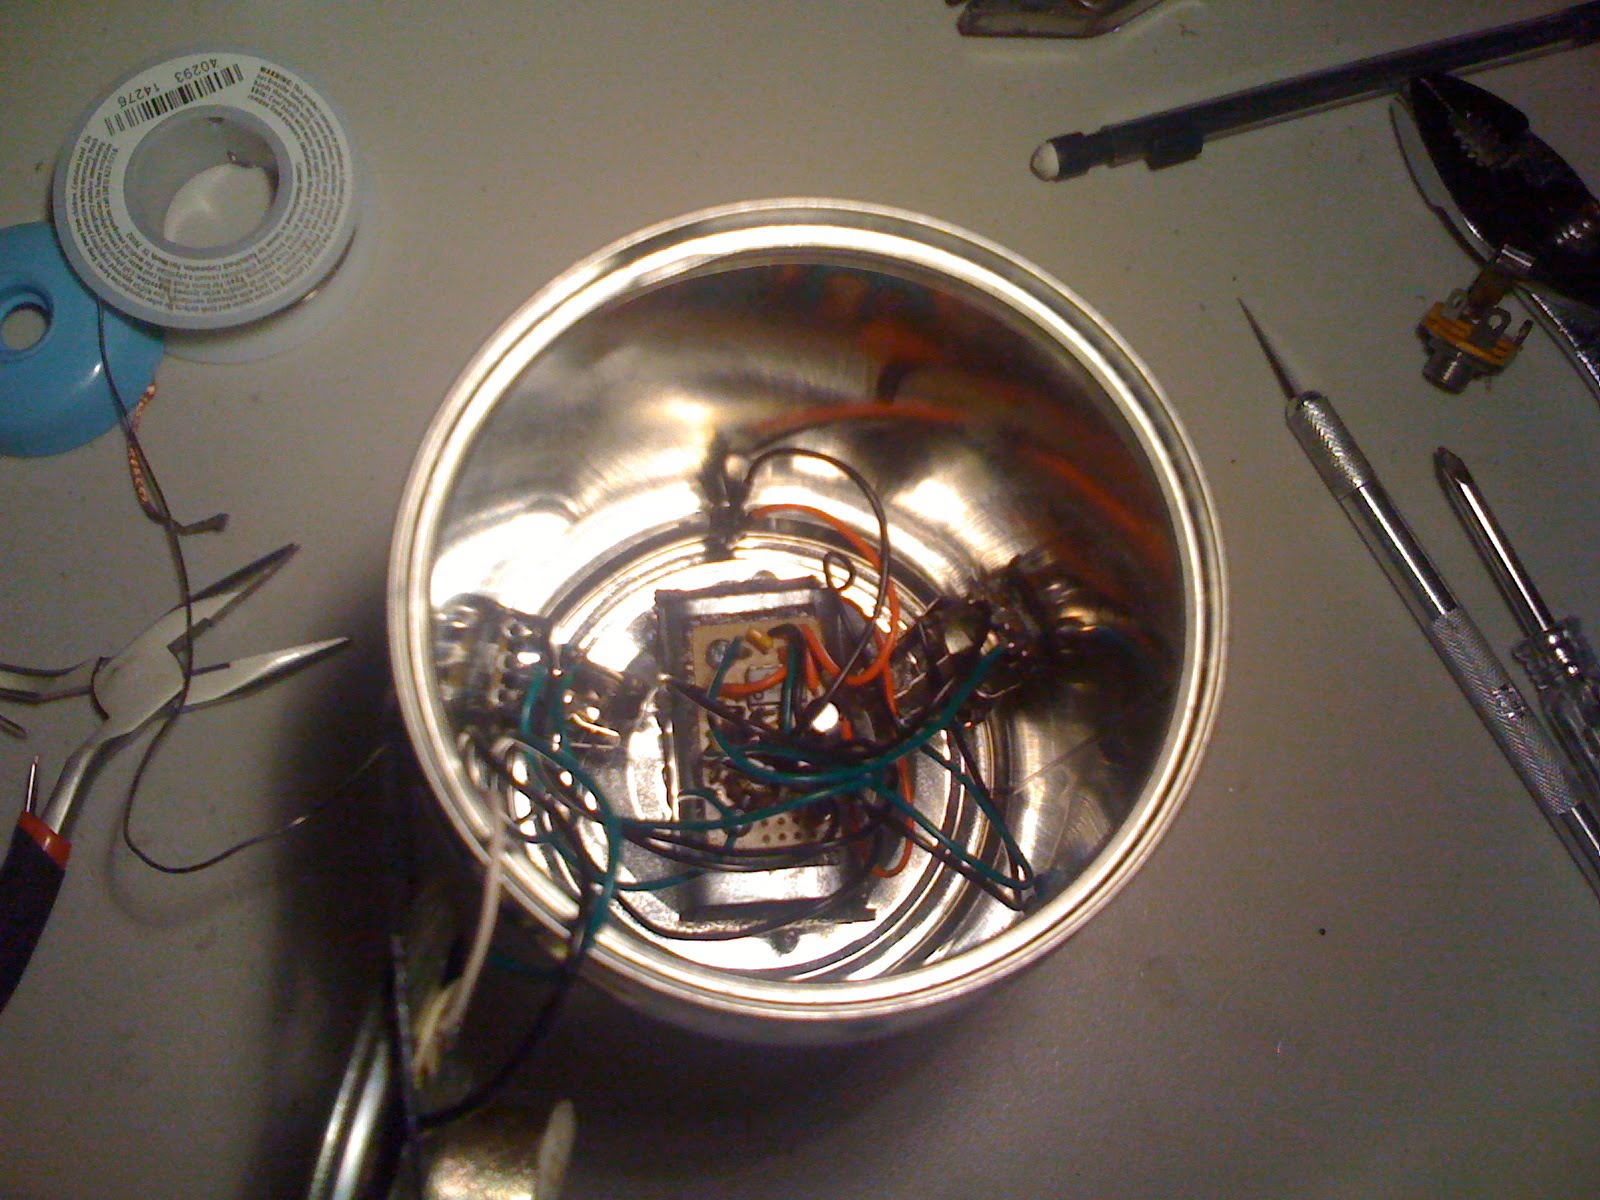
Cutting out the bottom of the can was done by first drilling holes on the
corners and then slicing it up with an exacto knife:
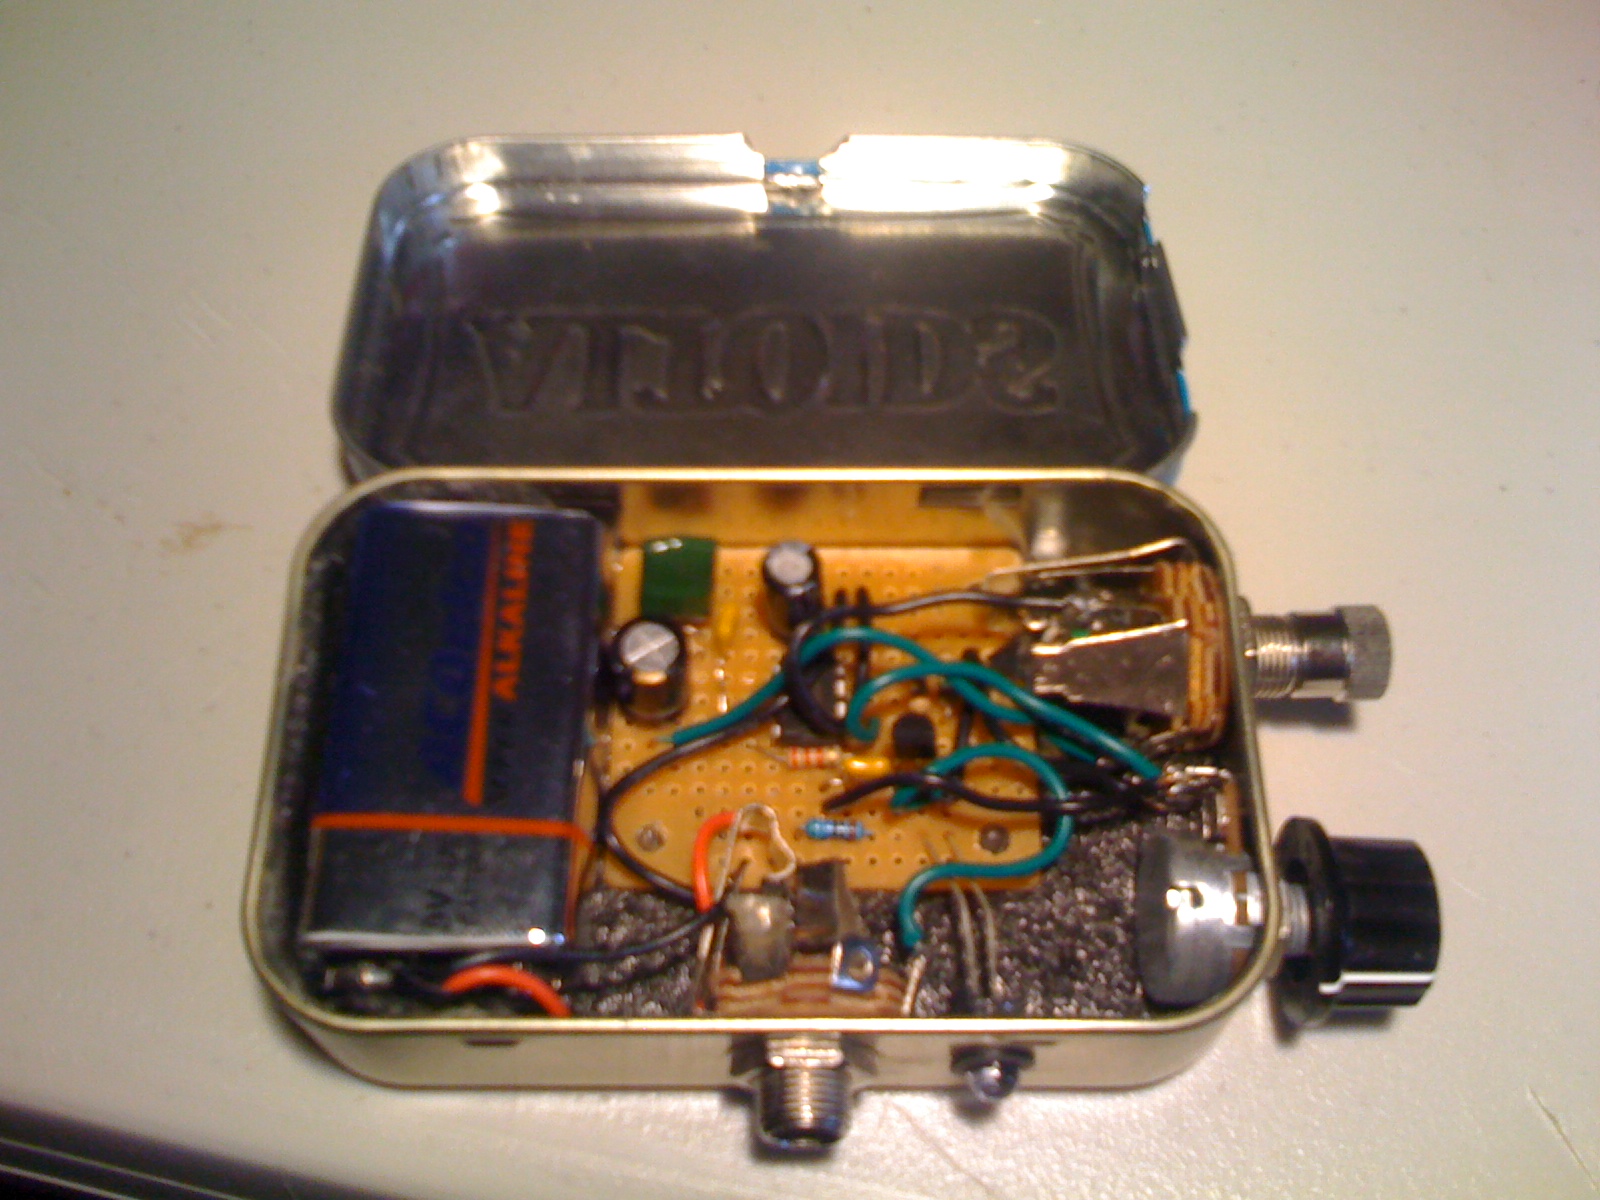
Installing the electronics in the can turned out to be harder than I
thought. Since the knobs and jacks were located at the bottom and my
hand didn't really fit inside the can very well, it was seriously
difficult tightening it all up. I broke wires off the board on more than
one occasion. I decided the top of the battery box was also nice
location of the electronics board since I could pull the board out
fairly easily for potential maintenance.
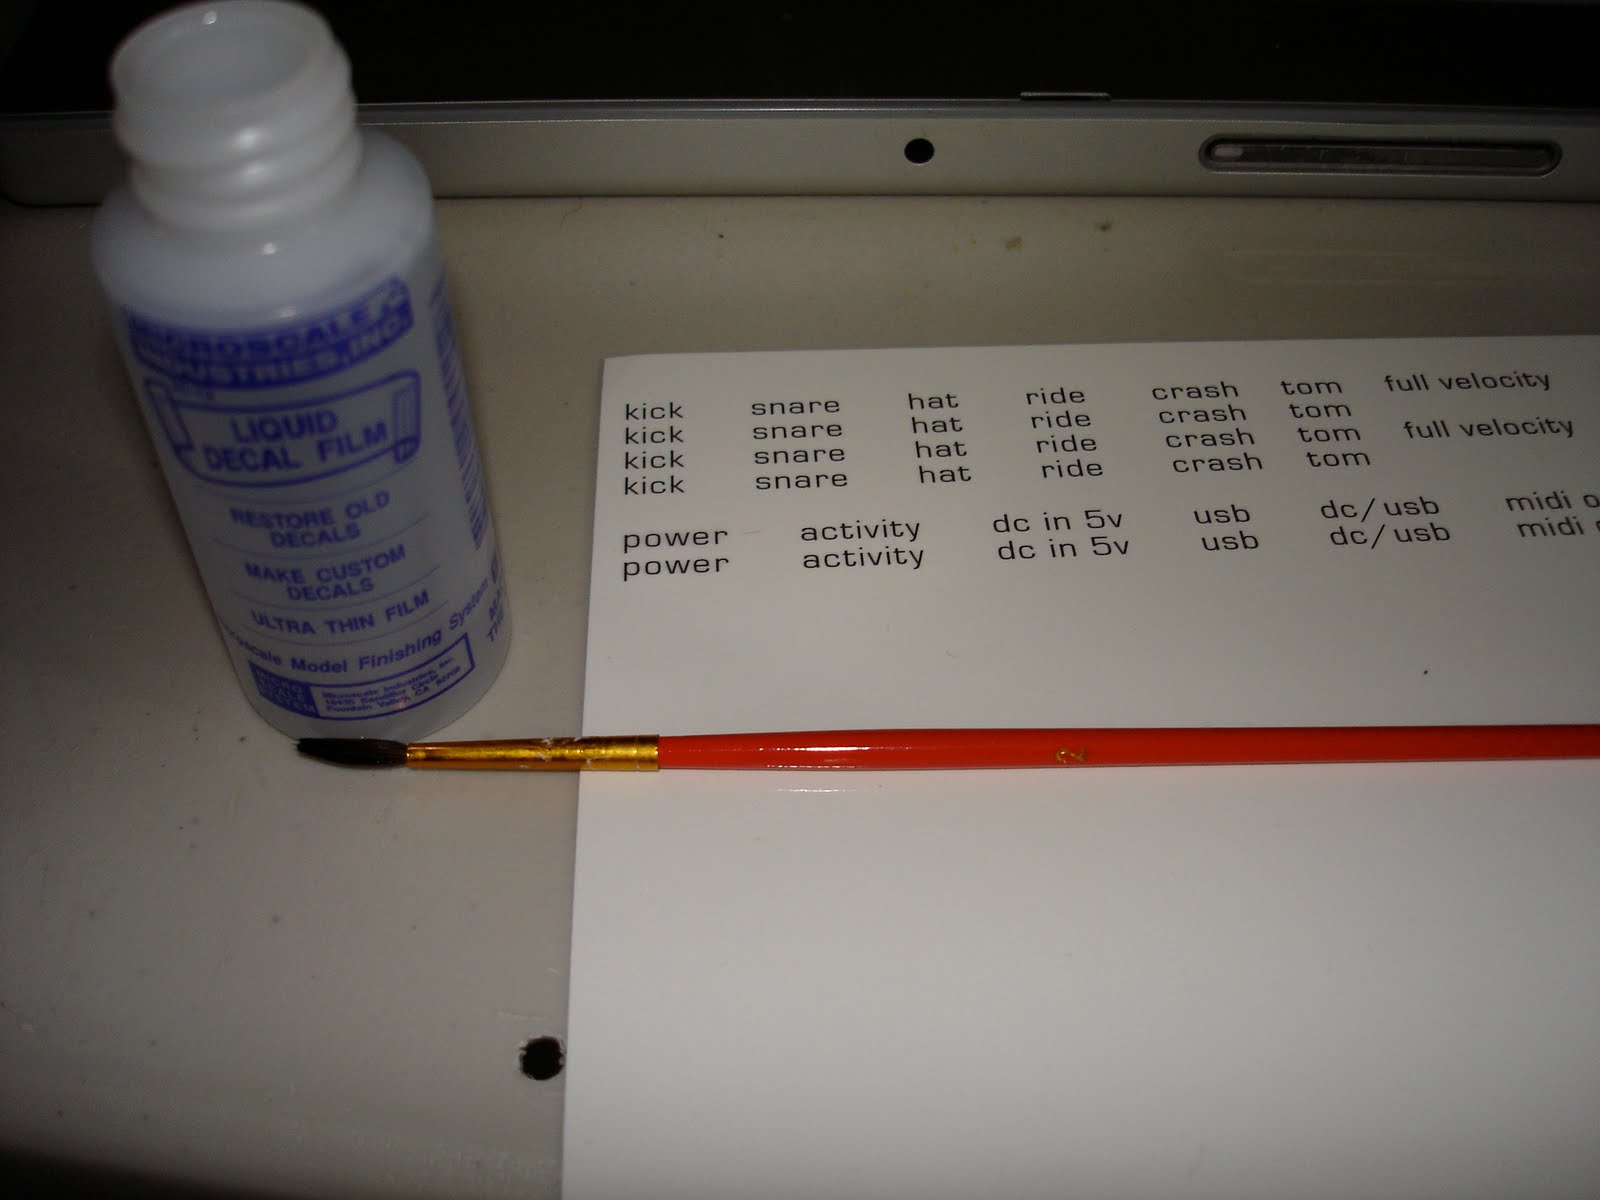
Decals
I wanted to add custom decals that somewhat matched the style of the
existing labels on the can. It took about a week of searching and trial
and error to find the right type of thing to do the job. I ended up
ordering ink jet water slide decals from:
http://www.papilio.com These worked great and
were far better then anything I found at retail stores (office depot and
a handful of hobby/model shops). One thing I did get from a hobby shop
was "microscale liquid decal film". I used this as a clear coat after
printing the labels.
(labels shown are from a different project)
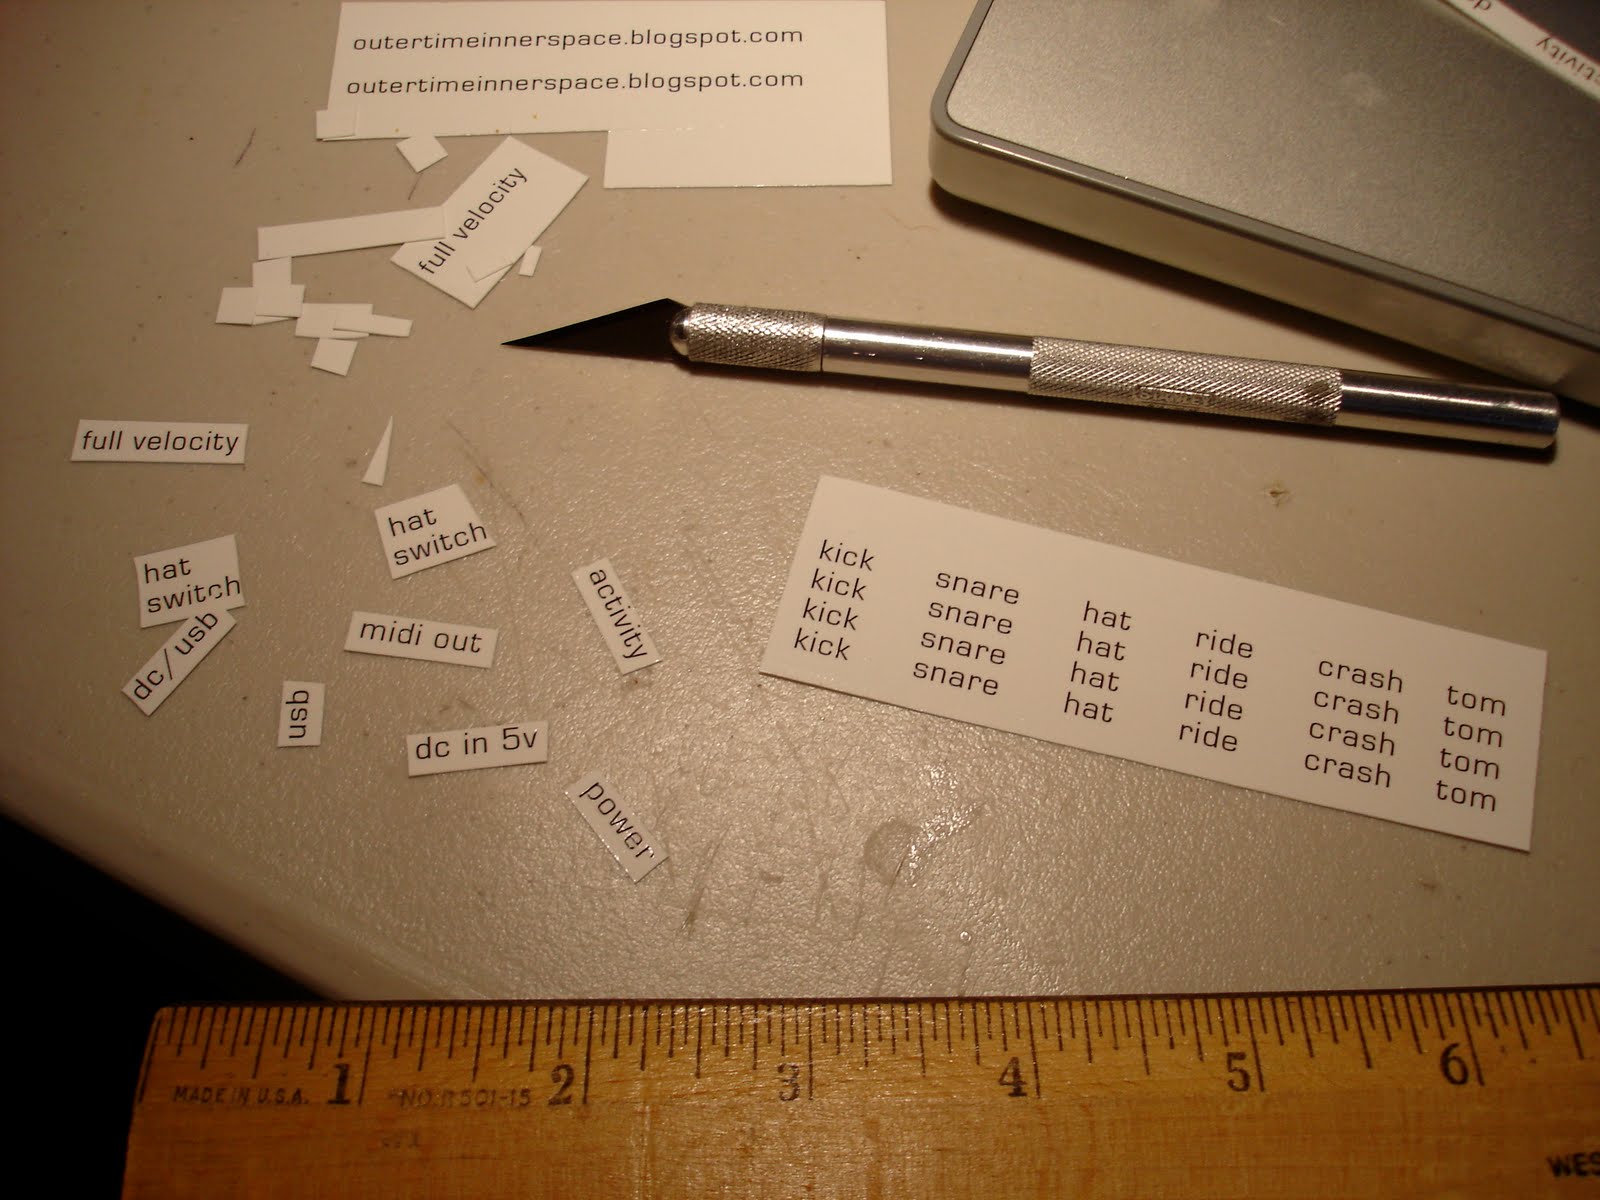
The instructions that come with the paper are
pretty good but here's some extra trial and error I went through.
Ink only needed to dry for about 15 minutes after printing (these
are small labels)
Microscale film needed to dry for 15 minutes
Print extra copies of the label as you can easily screw them up when
sliding onto objects.
Use a brand new exacto blade to cut out the labels. Otherwise the
edges can stick up a little once the decal is dry.
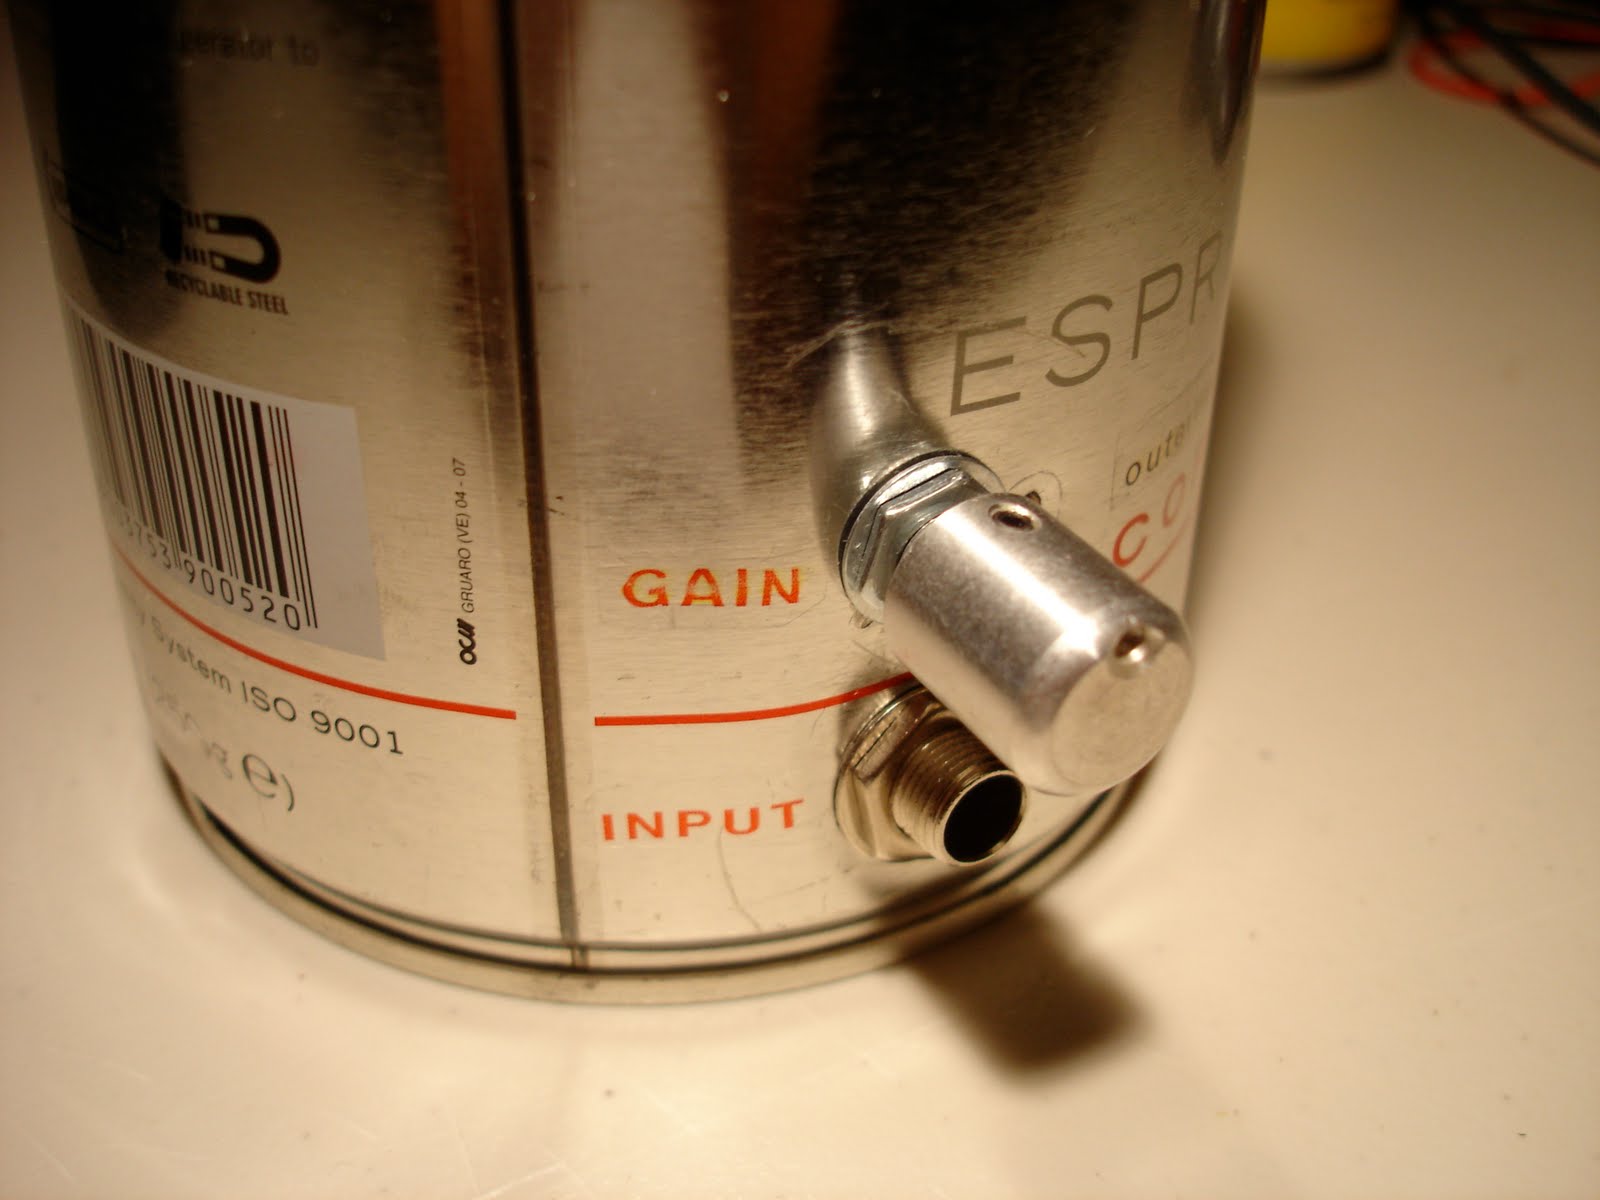
Some of the thoughts I had in regards to usability of the amp:
No switches. All functions are triggered by plugging cables into the
device. For instance, power turns on when the input cable is in.
Speakers are switched to headphones when headphones are plugged in.
Keep audio jacks at the the bottom of the can. This would keep the
can from tipping over when a cable is gets pulled on.
Knobs should be positioned above cables so that the cable does not
get in the way of turning the knob.
Hide the speaker under the lid.
I also had thought of somehow hiding all the controls under the
lid or on the bottom. But this would have been difficult and I think it
looks cool with the knobs sticking out the sides allowing the original
label to be fully displayed. However, it is a little hard to use this
way because the knobs are hard to turn with one hand (using your right
arm you have to twist your arm to turn the knob on the left side or vice
versa). Having the knobs close together would have been a much better
decision as would allow you to easily tweak combination's of gain and
output volume to get different effects.
The usage of color in user interfaces often used to associate items with
meaning. This can help minimize complexity of data
representation (by avoiding a lot of text everywhere). For instance, the
usage of a legend where a certain color can mean something special. The
problem with this usage is the color and its meaning are usually of
arbitrary correlation. Legends in general can help solve the problem of
complexity at the expense of usability. You have to keep track of
impossible to remember icons or colors in your head and constantly
look back to the legend while scanning data.
Similar problems exist between correlating input controls with the devices
output. We are surrounded with devices that have terrible design in
regards to input and output associations. The classic example being the
kitchen stove burners. The knobs are generally layed out in a horizontal
row while the burners are in a grid. Making an intuitive correlation
impossible between knob and burner. To aid this there is an icon next to
each knob, however, there is still the problem in that the user needs to
translate the vertically positioned icon into the top down space of the
burners for the icon to have meaning. Essentially, all this results in
everybody constantly choosing the wrong knob for the burner they want. I
still get it wrong everyday and I am cognizant of the situation!
I was equally annoyed after purchasing a Roland KC-350 keyboard
amplifier. Like all the other crap I've purchased based on bullet point
feature lists, I found it had some serious usability problems.
Particularly, the four channel stereo mixer was difficult to use do to
its lack of input knob to input jack correlation. Generally this is
fairly intuitive with mixers as each channel strip is arranged so its
input jack is directly in line with the channel controls. In the case of
this amp, the knobs were obscured and offset based on odd numbers of
knobs verses jacks. The first three jacks are associated with the CH1
knob, the next two jacks are CH2, etc... They attempted to associate
knobs with jack grouping by using numbers... I consider this a serious
design failure on rolands part. My bass player gets it wrong every time
and needs assistance after plugging in his bass and trying to figure out
why the volume knob does not do anything for the channel he's plugged
into.
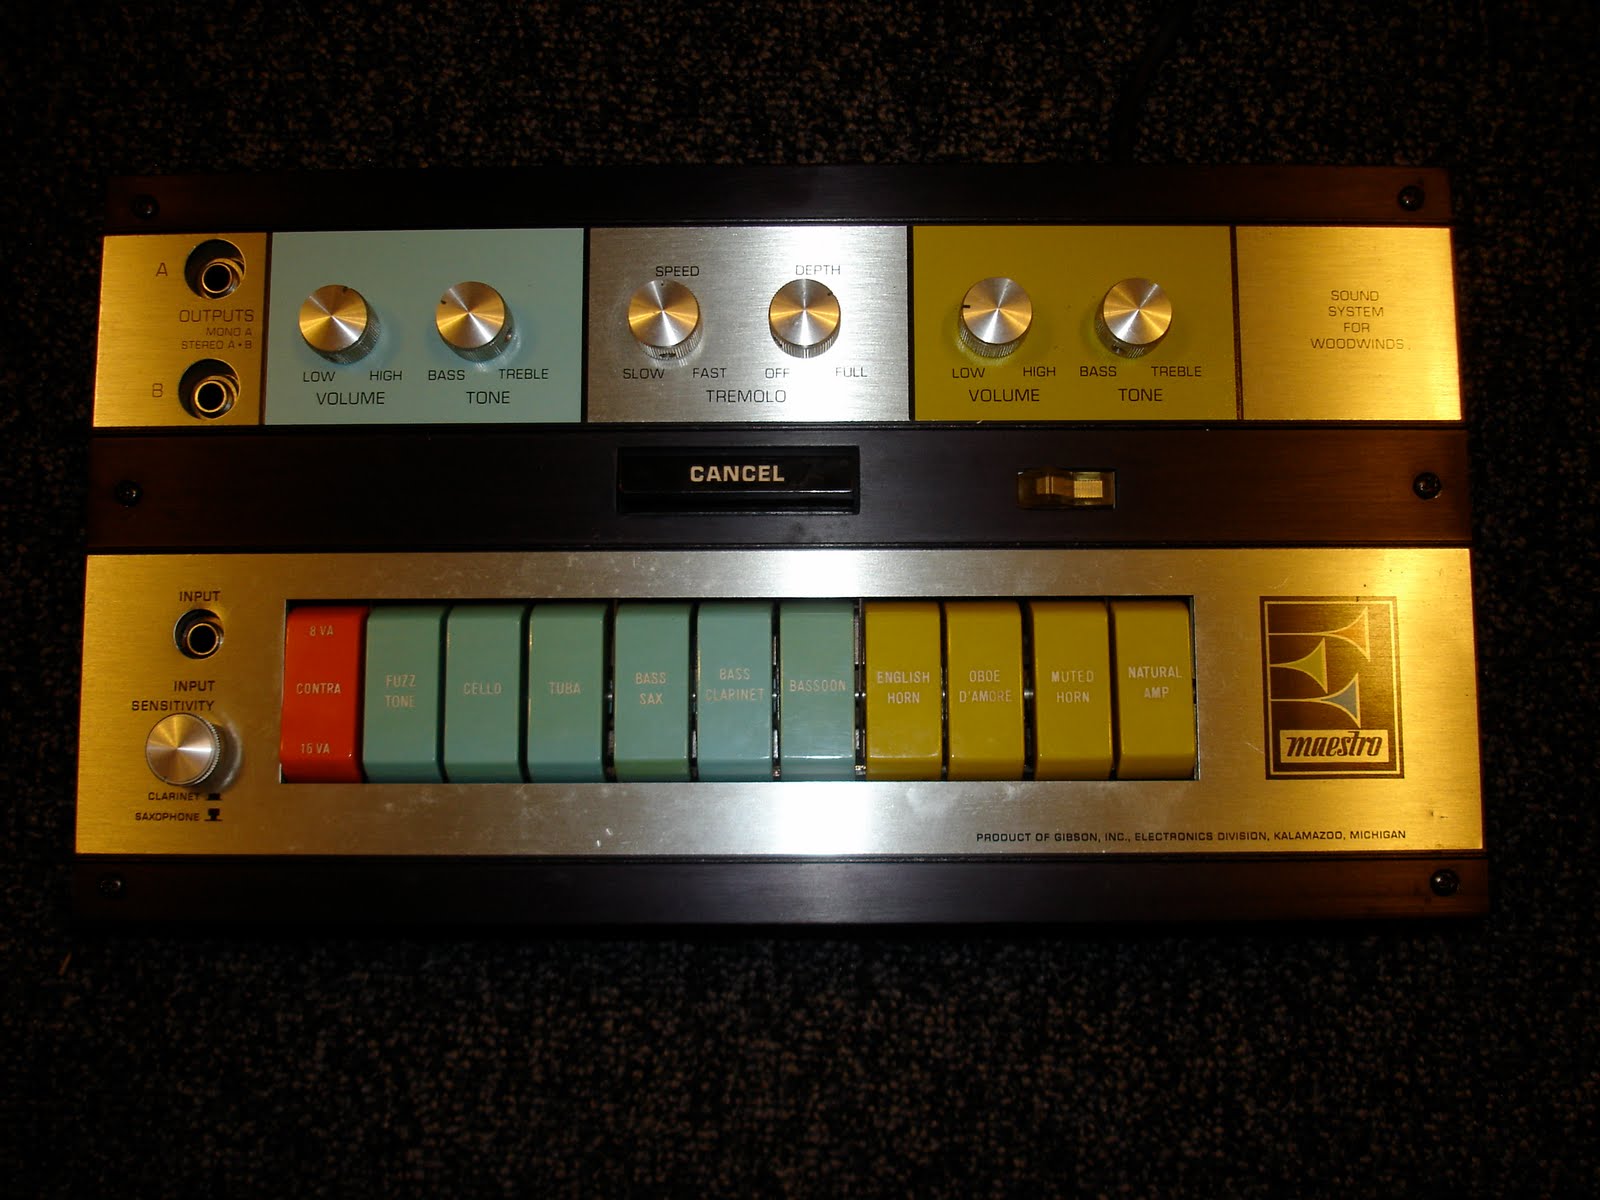
A buddy of mine was showing me this funky piece of gear: Maestro Woodwind Sound
System I was pleasantly surprised when I saw audio electronics which used color
very successfully to correlate groupings of buttons to a grouping of
knobs. It is immediately obvious and and intuitive which volume knobs
affect which sound group buttons. No need to read a manual here. And it
gave me an idea that a similar technique could be used to correlate lots
of seemingly disconnected UI elements in general. While this example
might not be considered the most tasteful (personally I love the 60's
and 70's look), the usage of color is not visually distracting which is
the case with a lot of UIs that utilize color. I believe color can be
used tastefully in certain cases to denote association and make things
very intuitive.